lac·quer [lak-er]
noun
a protective coating consisting of a resin, cellulose ester, or both, dissolved in a volatile solvent, sometimes with pigment added.
cel·lu·lose [sel-yuh-lohs]
noun
an inert carbohydrate, (C 6 H 10 O 5 ) n , the chief constituent of the cell walls of plants and of wood, cotton, hemp, paper, etc.
ni·tro [nahy-troh]
adjective
Chemistry . containing the nitro group. A combining form used in the names of chemical compounds in which the nitro group is present: nitroglycerin.
Ahh, that which makes up the illustrious shine and protection of the majority of your beautiful, hand crafted guitars. Now, of course, not all finely handcrafted instruments happen to use The classical guitar world loves their French polish and most of your big-box makers (names will be omitted) use some sort of poly finish; which isn’t necessarily a bad thing by any means. In fact poly finishes, when done right, provide fantastic protection and beauty.
But we are here today not to speak of poly. We are here to speak of the infamous and classic, Nitro Cellulose Lacquer. Well, kind of. More like figuring out to go about applying the finish in as a professional way as one can do with a small budget, and a….. chicken coop?
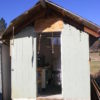
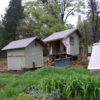
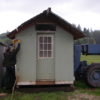
Say what? That’s right. This blog is the first installment of a spiritual and life changing transformation. Converting a smelly (really, really horrible smelling, armpits of satan smellin) chicken coop, into a useable and functional spray booth.
Where I live, there are a series of different farms; vegetable, goat, dairy and at one time, chicken. The owner of the chicken coop felt a calling to move up north and so he did. Though with this move, the chickens did not agree and stayed behind; leaving two coops behind and a couple of less than enthusiastic stewards of the coops. Long story short, someone built a mobile chicken trailer to be moved around their pastors and the veggie farm was left with two funky chicken coops. So what did we do? We cut them in half!
You see, the coops were two separately built buildings connected by a big single roof. If you have never scaled across a roof with a sawsall, cutting through shingles, tar paper, plywood, nails and in-between two 2×6’s, well my friend, consider yourself lucky! All kidding aside it was a labor of love.
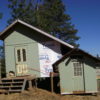
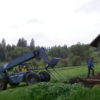
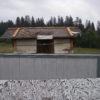
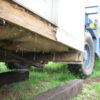
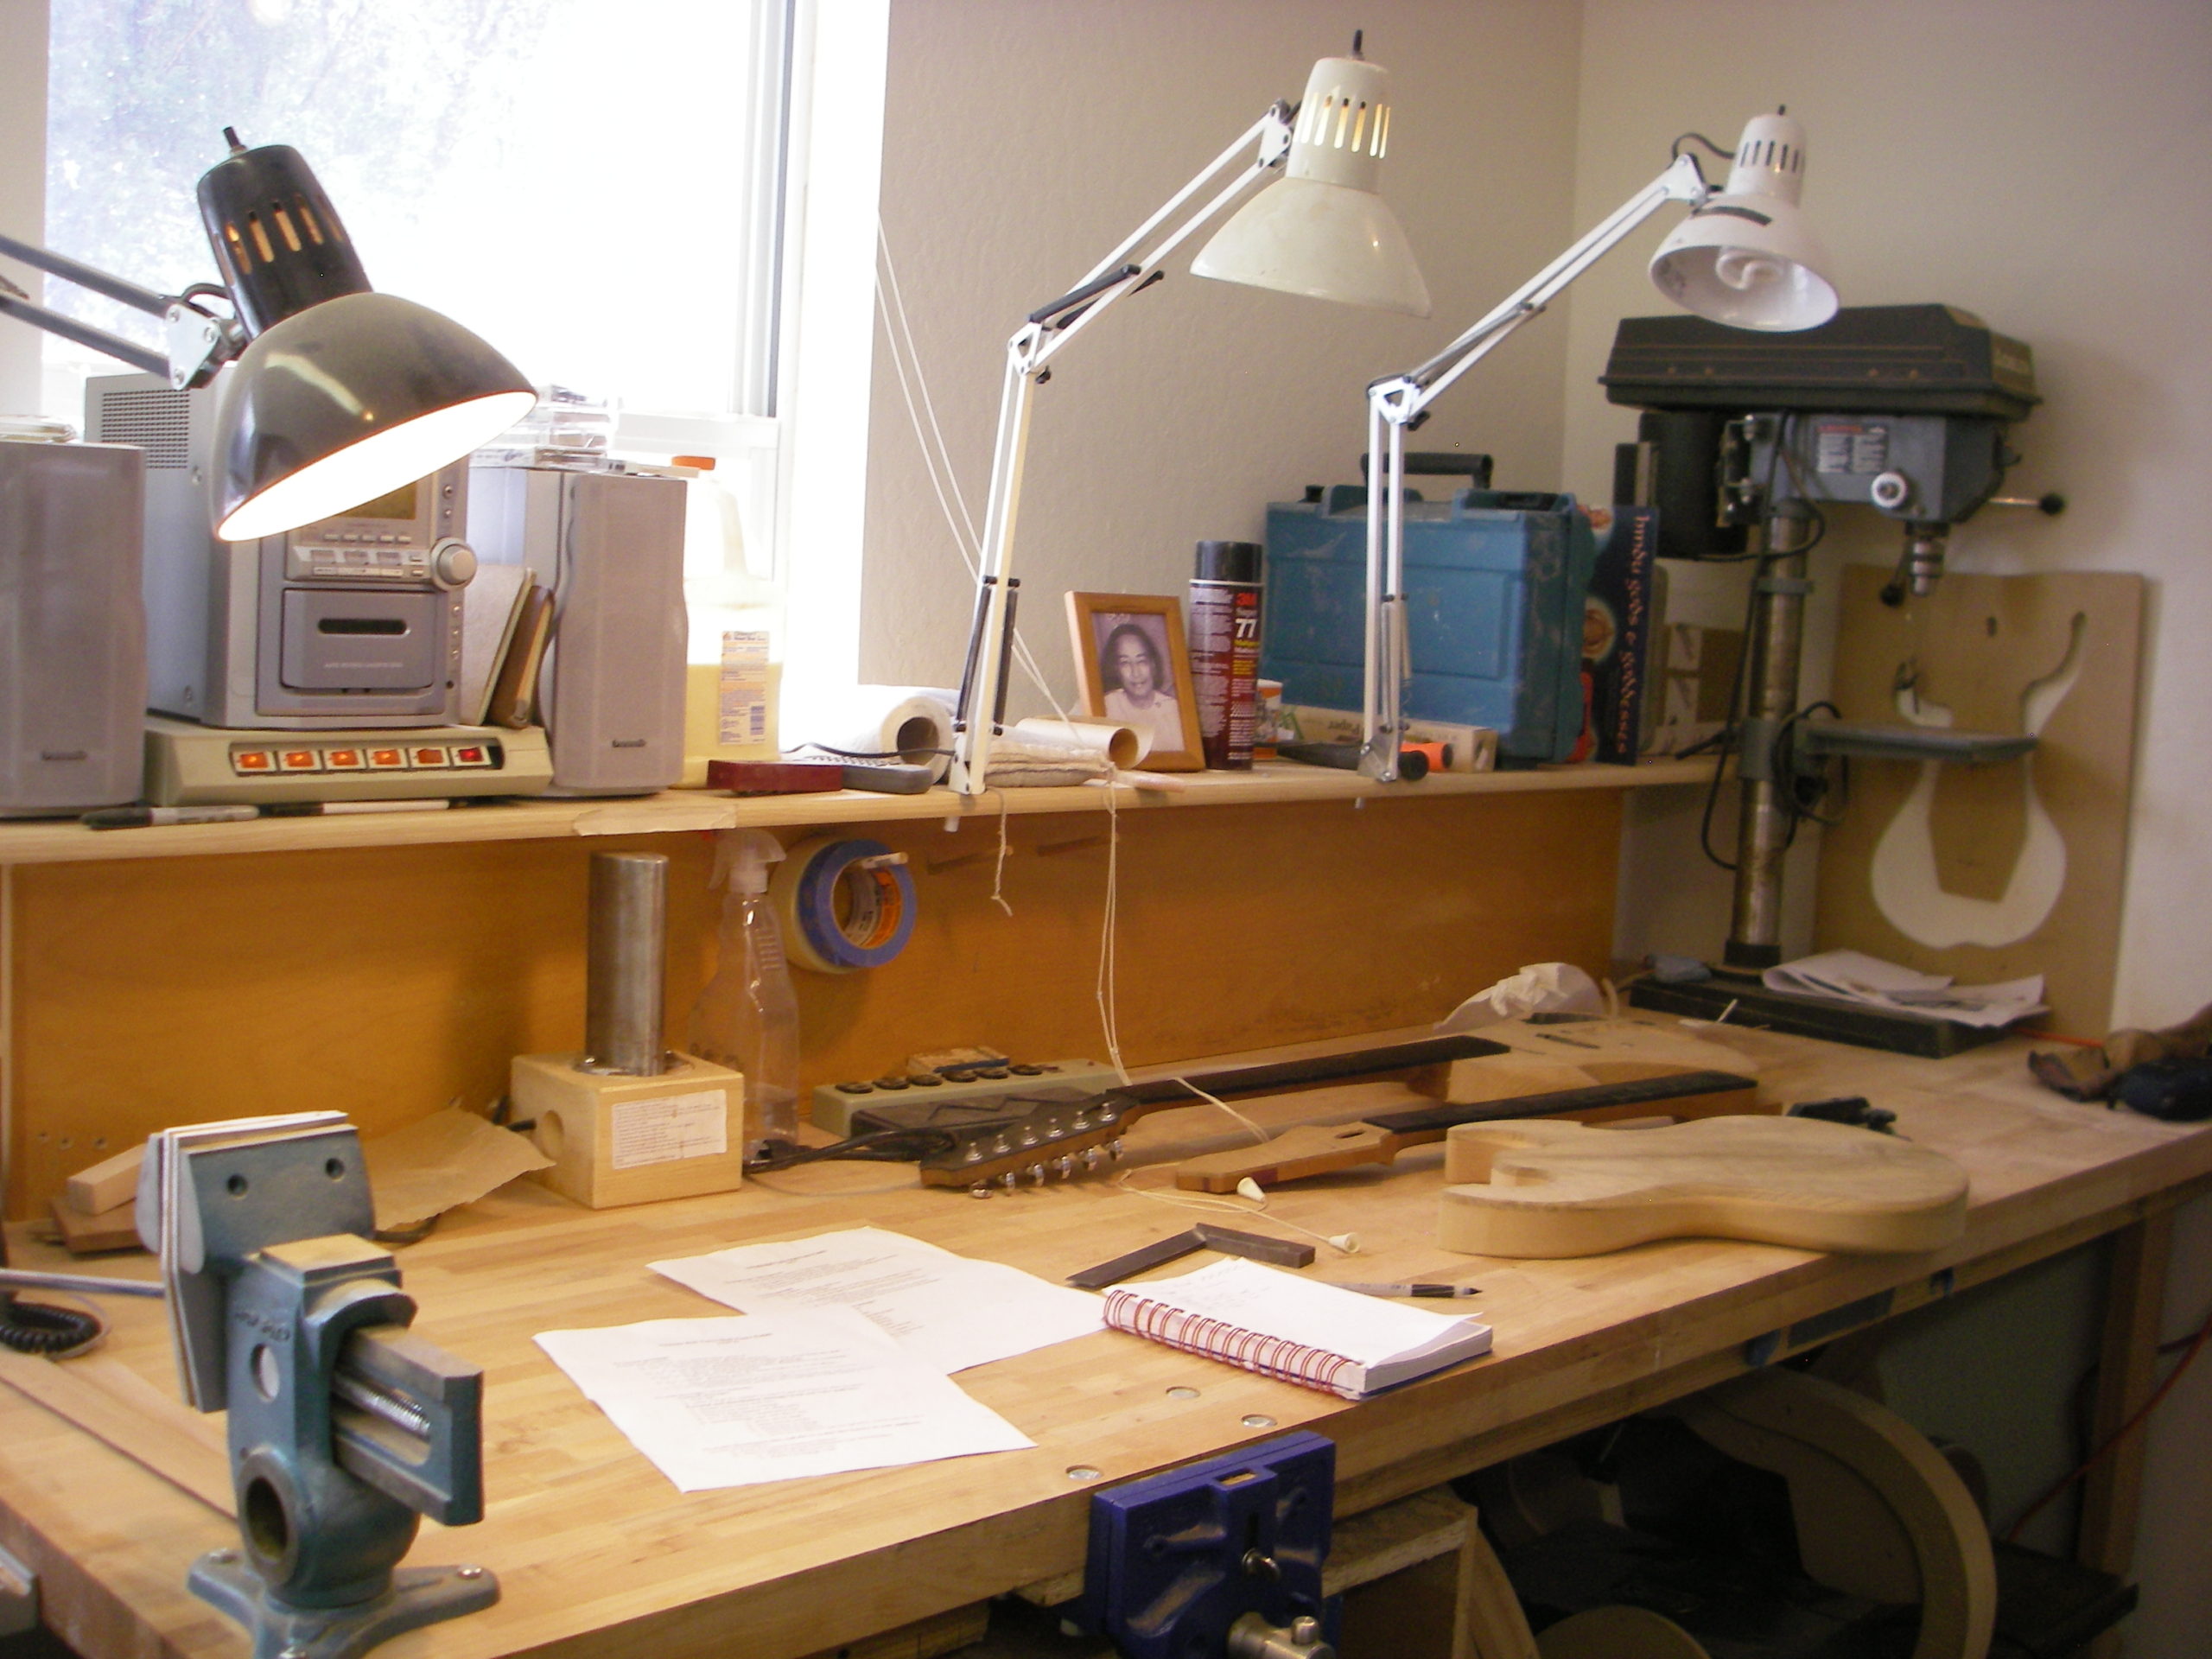
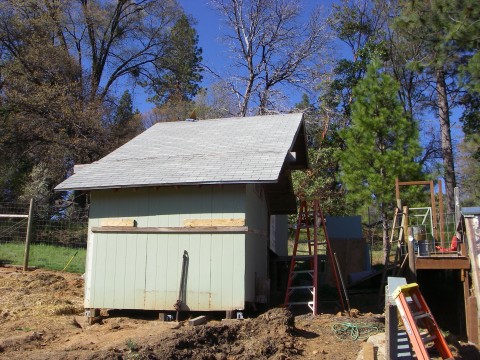
Once the two buildings became separate pieces, the big machinery came into play. Enter the gradall. With the master operating skills of Tom, and the expert hauling skills of Prakash, Ananta, Wyatt and Cullen, we had the coop moved and into its new home placed upon railroad ties. The wonderful thing about its new home is that it’s only a 30 second walk from my shop; which is as convenient as it gets for not having a spray booth inside my shop.
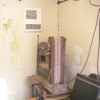
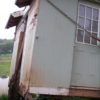
At this point I have not yet done much more to the refabricating of the coop/booth. Here are a few things that will most certainly need to be done to make it an operational booth. First off, there is a big gaping hole where my booth was connected to the other half of the chicken coop. Obviously this must go, but, instead of filling in the wall with more wall, I plan to install windows. I think in addition to artificial light some natural light will be nice. It won’t let in too much light because there is another shed a few feet away but I do think it will be a nice touch nonetheless.
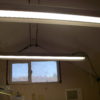
Did you know explosion proof lighting is rather expensive? I had a tricky time finding any sort of lighting that won’t explode the coop/booth into pieces for under $500; until I stumbled upon zorotools.com where I found a spray booth lighting fixture for under $300. That’s neato. I still haven’t purchased one yet so I don’t know how well it works and if the lighting is adequate, but I sure hope it is!
Along with the big ol hole in the wall there are a bunch of randomly sized holes throughout the coop/booth that will need to be filled in and covered up. 3X expanding foam, here I come… There are also a couple of funky sliding windows at the apex of either end of the coop/booth. An exhaust fan will be put into the window above the front door to keep some airflow moving through to keep cool and an actual spray booth filter will go at the other end.
I received from my uncle (the same uncle who gave me one of my work benches) a big ol 45 or 50 gallon air compressor. I’ll build a box to store it outside of the coop/booth to keep it out of the elements (and so the noise doesn’t drive me mad!) and hook up a water and oil filter between the compressor and the spray gun to keep those elements from working their way into the finish.
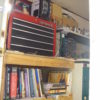
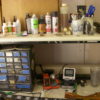
As the booth is now, there is an old cabinet and an upper cabinet in one of the corners. This will go bye-bye very soon for a couple of reasons; first, it is covered in chicken shit. Mmmm, very yummy. And secondly there isn’t an extraordinary amount of room in the coop/booth for hanging guitars. One of my dilemmas is that the coop/booth is one room; one room for spraying and for hanging guitars. Which means what my dear ones? Overspray. I’ll need to section off the room with either a wall or a tarp to keep lacquer from getting on any other guitar hang around, which means even less room for guitars to hang around. So I’ll get rid of the shit covered cabinets and build shelving that goes around the perimeter of the room that are two feet tall or so. It may be some excessive bending up and down, but I’m young and still have a good back and it will give me some much needed storage space that will also be out of the way of freshly lacquered instruments.
This is the plan thus far. Only time will tell how it all turns out. I’ll be sure to keep yall posted.
Till next time, keep on pickin….
