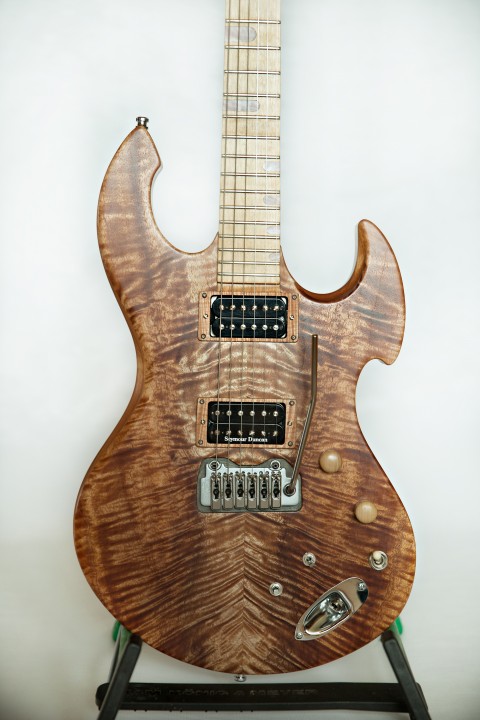
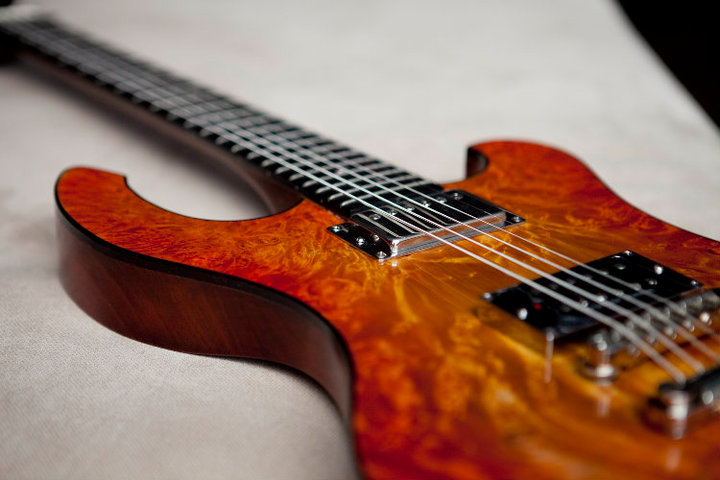
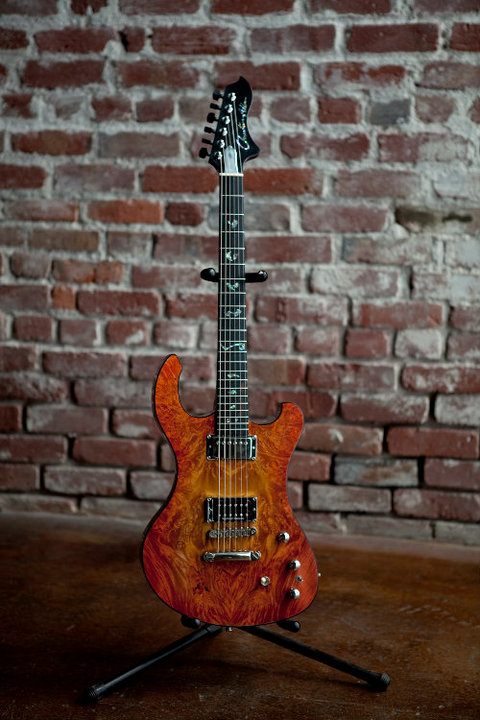
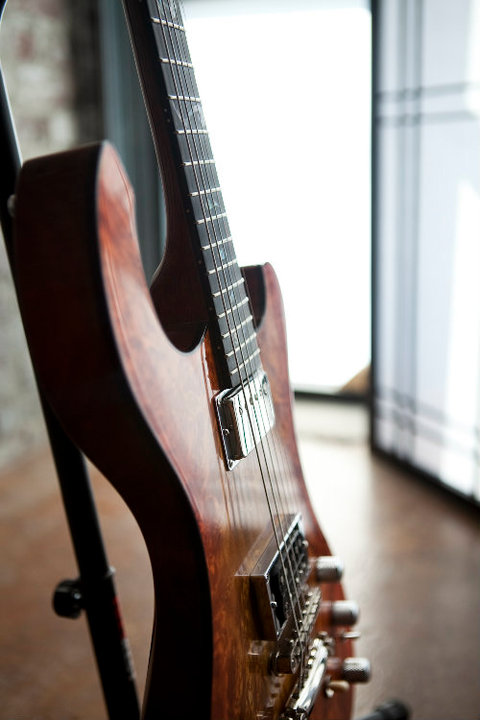
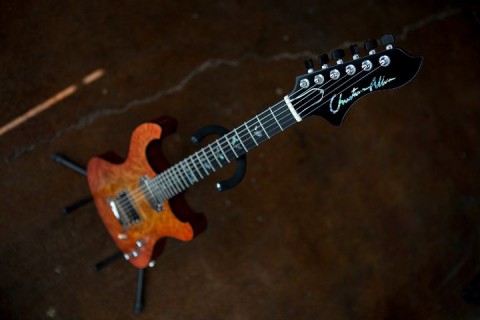
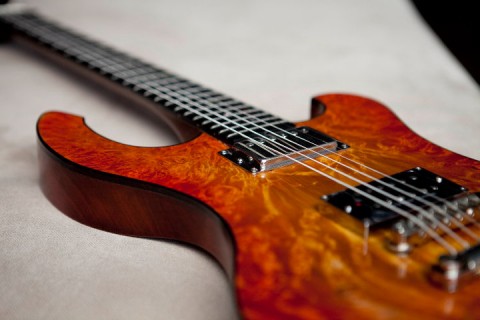
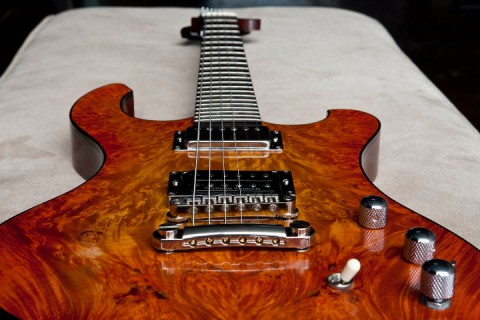
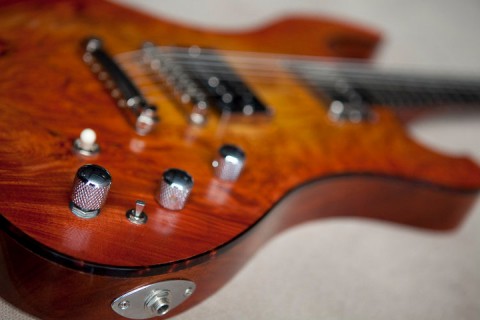
A quick note about this post. It is rather lengthy and in a sense, a confession of sorts. I am not a perfect builder. I try my best of course, and I learn very much with every guitar I build. This guitar in particular I learned a lot. It is a prototype S Series Trem. It turned out to be a beautiful guitar, but it took me through the ringer to get it to this point. I want to be completely up front and honest about the guitar. It is not perfect but it is damn close. It is beautiful. It plays great. It sounds fantastic and has a wonderful range of tones. I will have some audio of it up on the site sooner than later I hope. At the end of my rant below I will give all the specs about this particular instrument including price, in case you happen to be in the market. I hope you enjoy the read. Till next time!
Greetings to all out there in guitar land and the beyond! I hope this day finds you well, as it finds me quite well indeed. It has been a good long time since I last put anything on this here website. Not because I have nothing to say, only because of not having any of that mysterious little thing us humans invented called TIME! Not that I don’t have any free time, obviously there are moments of time in which it appears to be free; but alas, other adventures seem to fill in the cracks, and sometimes those cracks tend to widen into other adventures all their own. “And the point of this rant?” you may ask is? Well, I have a new guitar to show you!
This guitar has been a long time coming. It has tested my every faculty in patience and endurance and of finding the joy in the challenges that pop up in life and turning those seemingly disastrous moments into seeds of gold and light; all of that into a single guitar. Weird as it sounds, it is true.
I am going to do something different in this post. I’m not going to just describe the specs of the guitar and how much it is. There is no heart in that. I want to tell the story of how this guitar took me through the ringer to finally become the guitar it is, and how it made me the person I am at this particular moment in time and conscious space.
Starting Christian Allen Luthiery for me, has been a very slow (for lack of a better word) growing adventure for me. It is not the main source of my income, not by a long shot, which means sometimes my progress with any particular guitar can be unfortunately slow. Primarily because my customer base doesn’t quite exist yet! (this is not entirely true. There are many very good people who trust me with their guitars; just at this point, not as many to buy them…) Everything I have built to date has been financed from my own pocket, and seeing as my day job is that of “a grower of organic vegetables”, my income is, to put it politely, modest.
This has been on the other hand, a year of enormous growth; in ways of expanding my customer base, as a builder, as a repairman, as a farmer, and as someone starting a relationship after spending the better part of a decade single. I feel very fortunate to say the least.
But what does this have to do with a guitar? Well, shall we break it down? We shall!
The truth is I started this guitar probably four years ago. Which is obviously way too long to start and finish a guitar. There are some factors that help with its long gestation period; I moved from Sacramento to the Nevada City area, it took a little while to actually find and set up a shop, Iv’e moved again, I started a relationship which if done correctly takes some time and dedication, and I tend to do a lot of volunteer work on top of my regular job on the farm, which if anyone knows, isn’t a 9-5 type of ordeal. And yes, I realize these are all just excuses but for some reason I feel inclined to share the silliness of my life with you all.
The goofy thing for me and guitars as of now, is that I have had a hard time making the same guitar twice. When I try, it lasts for about two minutes, and then I start to think abut new ideas for a neck pocket, or designing a different cover plate or some detail that makes the guitar unique. Something that gives it it’s own personality. It’s king of like reinventing the wheel on a regular basis, but it is that newness that I find very joyful.
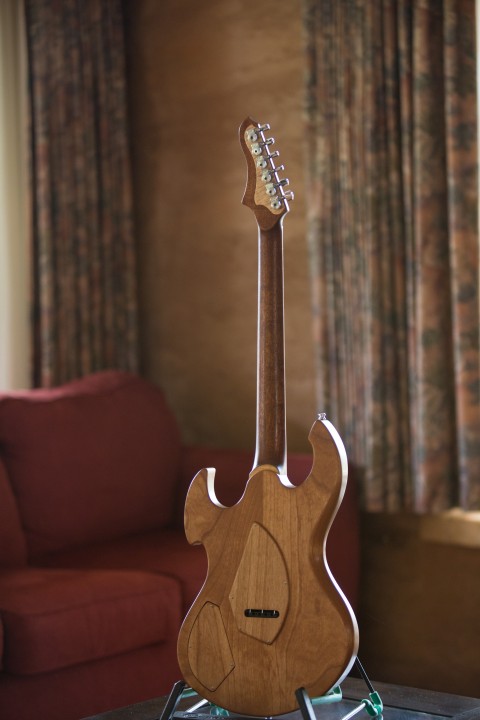
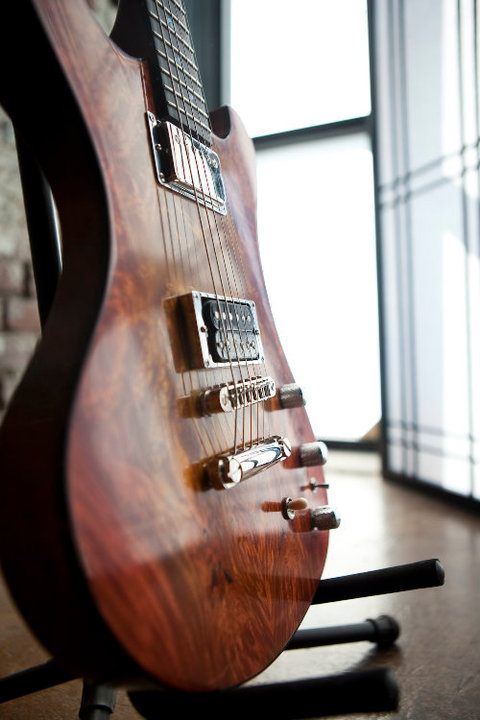
Now with this guitar there was some reinventing, but some, if not most of it was a re-engineering and a “what to do now?” type of scenario. The first fun bit was the tremolo. (Editors note: a “tremolo” really is vibrato, just sayin.) When I decided on putting in the tremolo, the neck was already glued in place. Glued in place without the proper neck angle. The easiest thing to do, of course was to go with whatever the original plan was, whatever that was. But for some reason I really wanted to go with this tremolo. (This trem by the way is the Wilinson VS-100; it is a really nice trem. It’s smooth as butter. As of now it’s definitely my favorite trem to use.) But with the neck angle not quite right, it meant was I had to make a template that fit around the base of the tremolo, so I could route into the top of the guitar to let the whole unit be inset into the guitar. Iv’e done that sort of thing before; on two other guitars, I had the tune-a-matic bridge inset into the top. It looks real neato as far as I’m concerned.
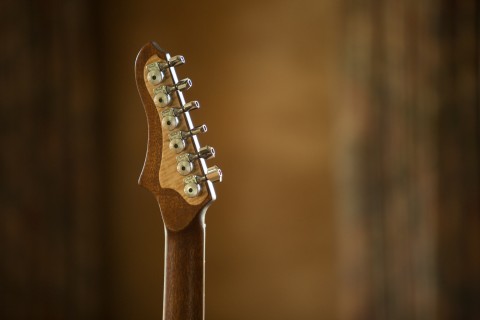
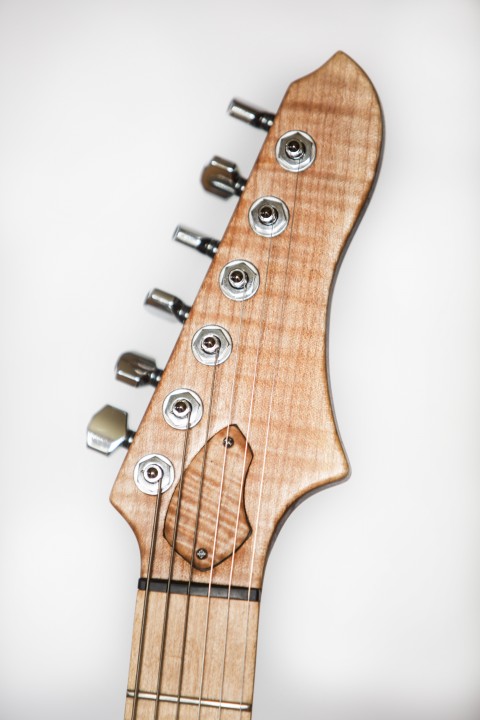
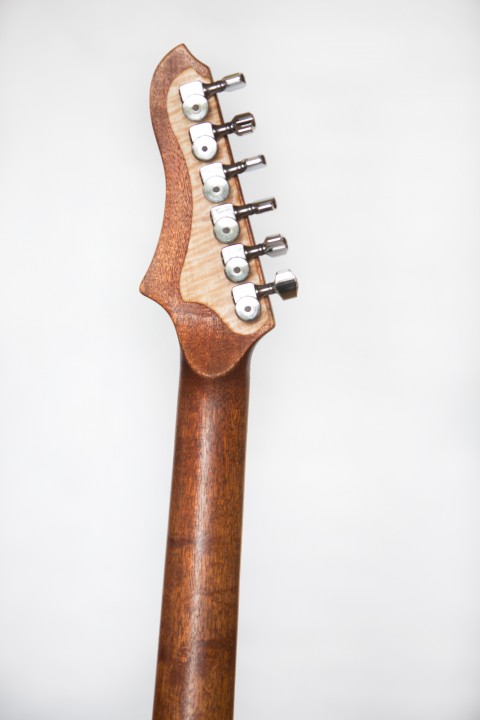
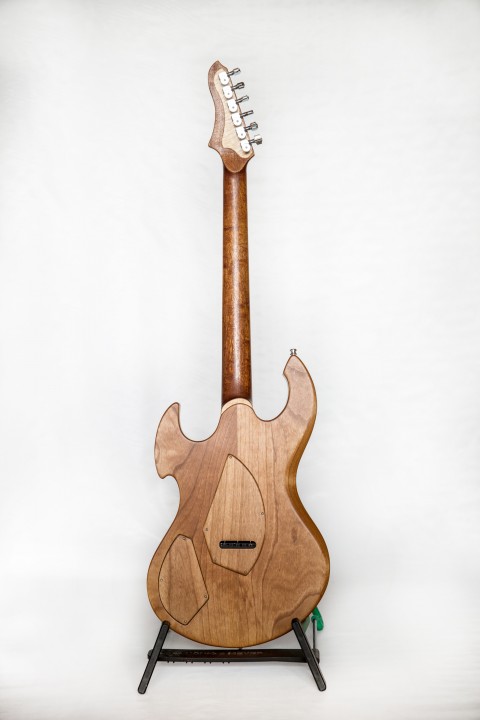
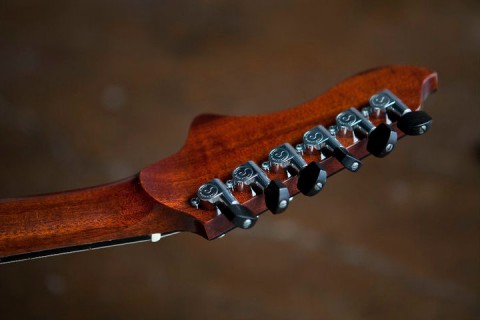
Another thing I had to figure out was the thickness of the headstock. After sanding and shaping, and more sanding due to stripping the first finish I had applied, the thickness of the headstock had become too thin. The tuners wouldn’t tighten down all the way. What a bummer! Well at first it was. It then led to the cool flame maple design on the back of the headstock. I didn’t want to put an overlay on the entire back of the headstock for some reason, but a a cool quasi mock up of the headstock shape done in flame maple would be really fun! So I did, and I’m glad I did because I think it is something I will do again sooner than later in one form or another. Another thing that happened was with the tuners. At the time I didn’t quite understand, as it had never happened before, but the low E tuning post was just ever so slightly taller than the low E nut slot! Holy crap! That is all sorts of bad! The tuners are locking tuners, so there are no wraps around the post, thus increasing the angle behind the nut slot. When it was strung up the low E string actually floated above the nut slot; not hardly a 64th, but still, that is waaaaaaay not acceptable. My only saving grace was the fact that the tuners have staggered posts. The low E is supposed to be the tallest and each tuner becomes a little shorter than the last. So I reversed the tuners! It is kinda goofy I know, but it works.
OK. Two more “confessions”. This one really aint so bad. When it comes to finish work, I have a tricky time. Partially because I don’t have the proper setup and partially because because I have a hard time finding the joy in it, which in turn can make for a not so perfect finish. With this guitar I started using a Tru oil finish. I wasn’t having any luck with that so I switched to a Nitro finish. But alas, when it came to buffing it out it had all sorts of blushing and I was still not happy. So then it sat. And sat. And sat some more till I decided on a Tung oil finish. I had practiced on a test piece of wood first (which I should have done with the Tru oil) and it seemed to be nice enough so I figured, “either now or never” and I took the plunge. And I am sure glad I did. Yes, it does not have that brilliant shine of a lacquer or a poly finish, but it looks great. At least I think it does as do others who have played it. I think I will be doing a lot more with Tung oil in the not too distant future.
The last little tidbit that was a product of putting in the trem “post design stage”. Because I routed out the area for the trem to sit into, in combination with a body that is 1 1/2 inches thick and that big ol route for the springs of the trem, meant that the last 3/16 of the posts popped into the trem spring cavity. Luckily it was only half of either post, meaning only one face of the post is actually visible in the spring cavity. A bummer yes, but those posts are in there tight. Even with that snafu, all is very functional.
I realize that this post is rather long and kind of ridiculous to say the least. But I feel it is very important to be truthful and honest about my work. I do the best I can, and by no means am I perfect, but with each and every guitar I learn something new. Sometimes I learn a lot! After all, this is the first guitar I have built with a tremolo unit. And yes, I should’ve designed the guitar from the very beginning with the trem and make my life easier, but it was much more fun this way. Well, I think it was….
Here is a link to another post that has some audio of the guitar .
The specs are as follows…
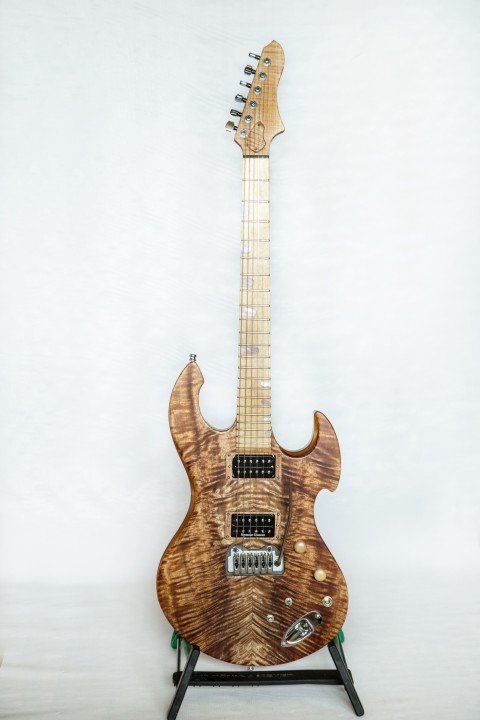
chambered alder body
queensland maple top
25 inch scale
mahogany set neck
two way adjustable truss rod
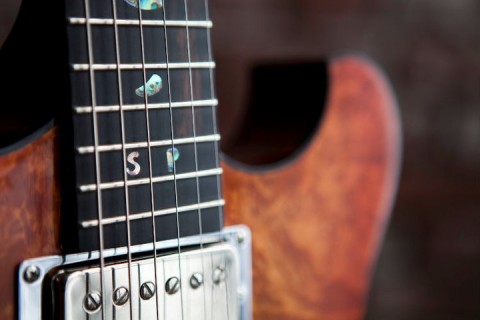
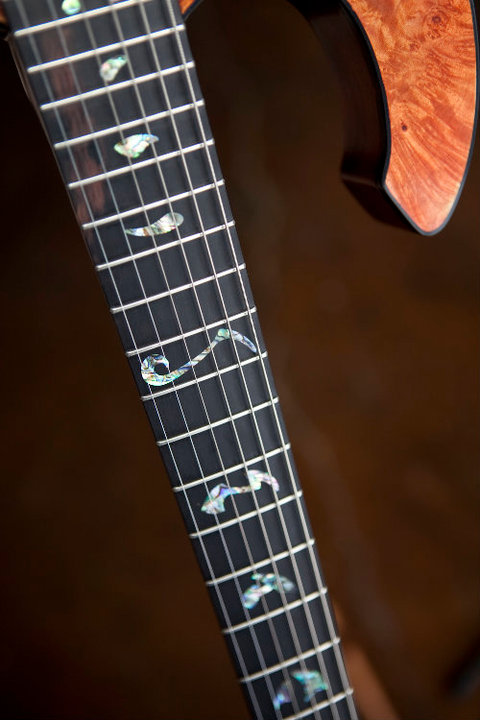
maple fingerboard with pink muscle shell inlays
medium jumbo frets
Seymour Duncan 59 in the neck
Seymour Duncan custom trembucker in the bridge
Wilkinson vs-100 tremolo
Sperzel locking tuners
graphite nut
master vol
master tone ( both vol and tone are sealed Bourns pots. Very fancy)
Switchcraft three way pickup selector toggle switch
2 mini switches, on/on/on/ for humbucker/single coil/parallel. One for each pickup.
All is shielded with nickle shielding paint
tung oil finish
Schaller strap locks
If you have any questions feel free to drop me a line. 530.470.2318 or email at chris.salisbury@yahoo.com

