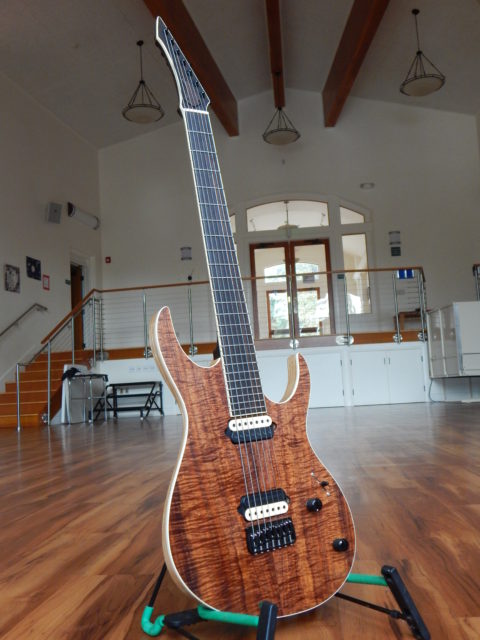
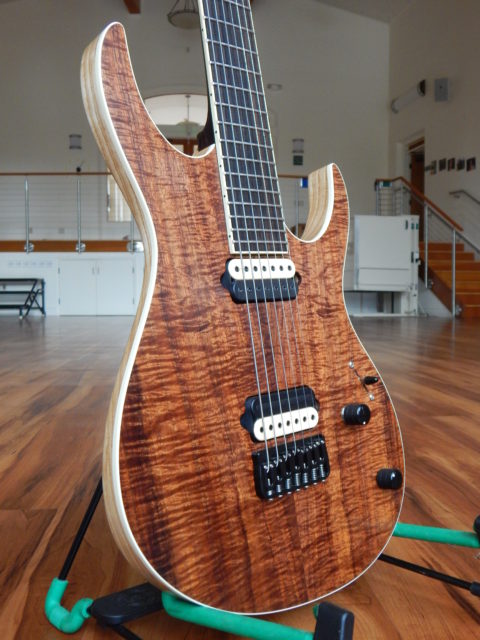
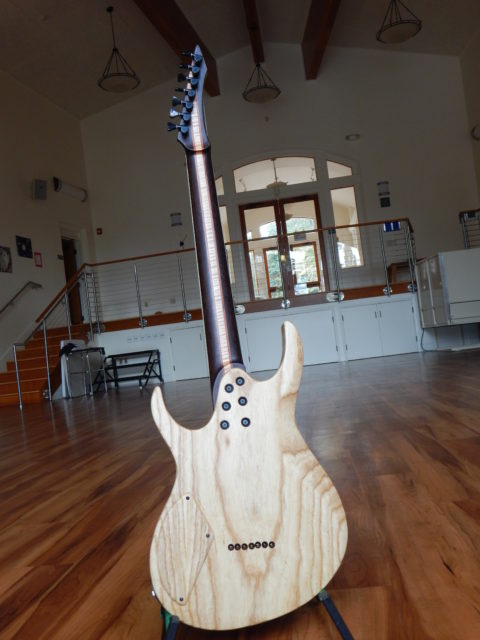
An S Series Bolt On

Leave a comment

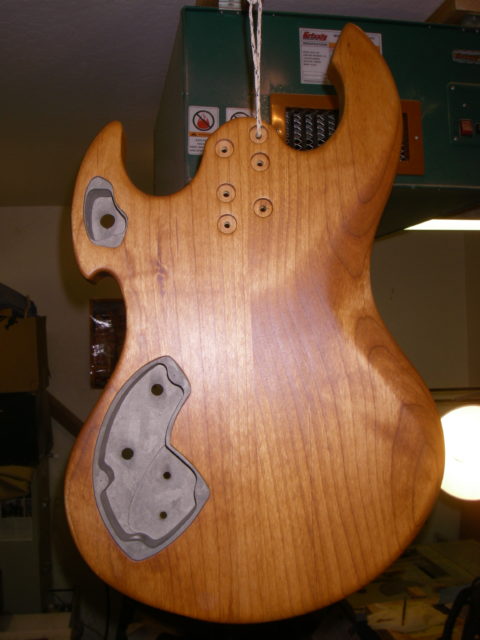
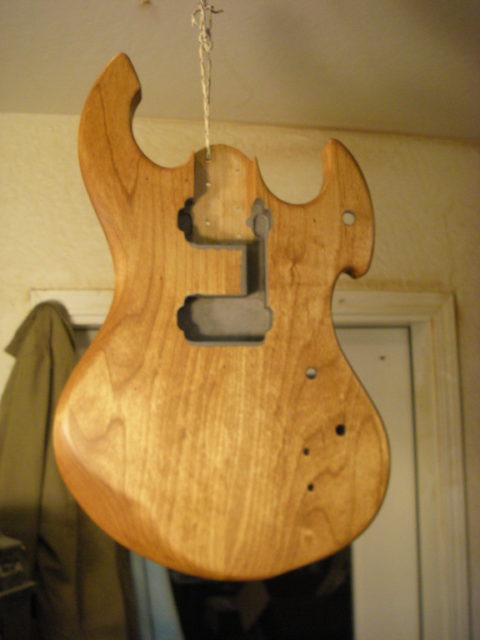
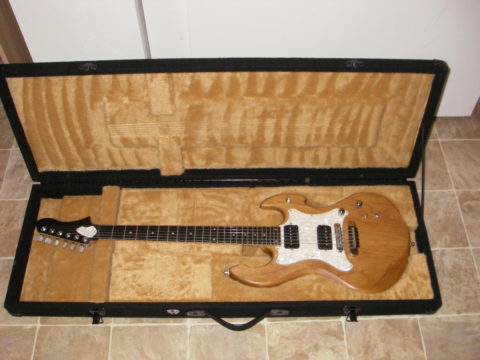
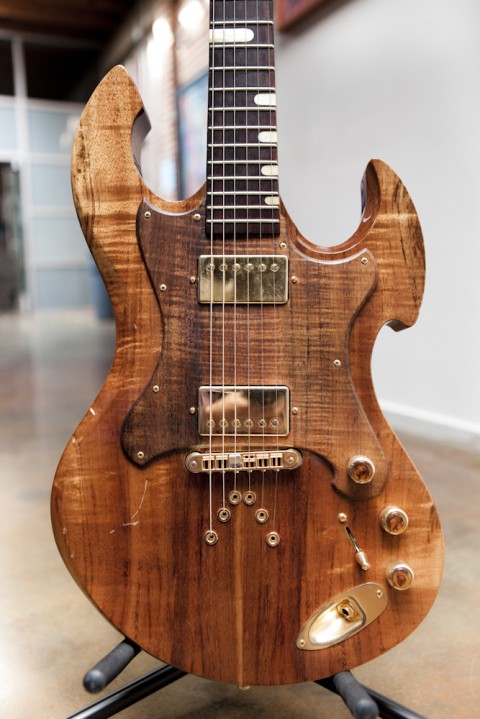
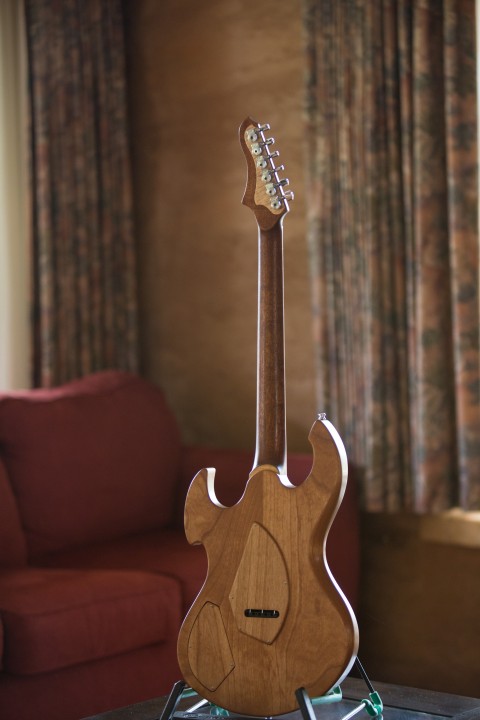
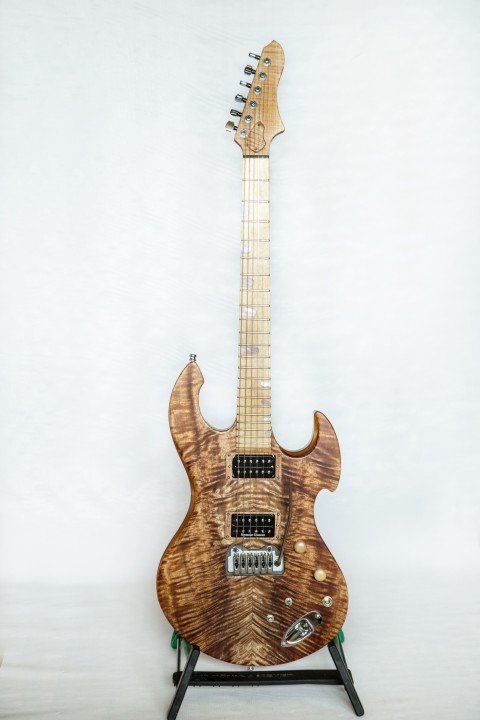
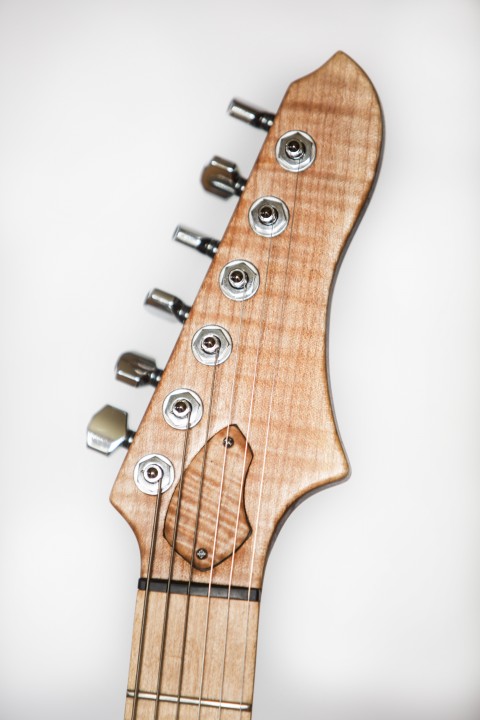
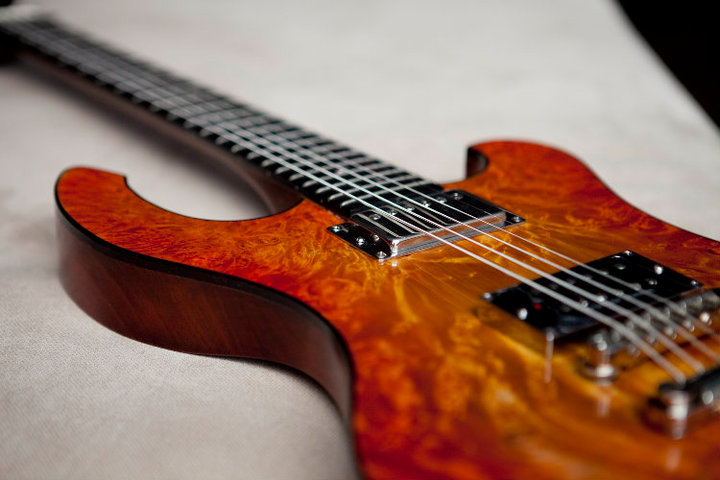
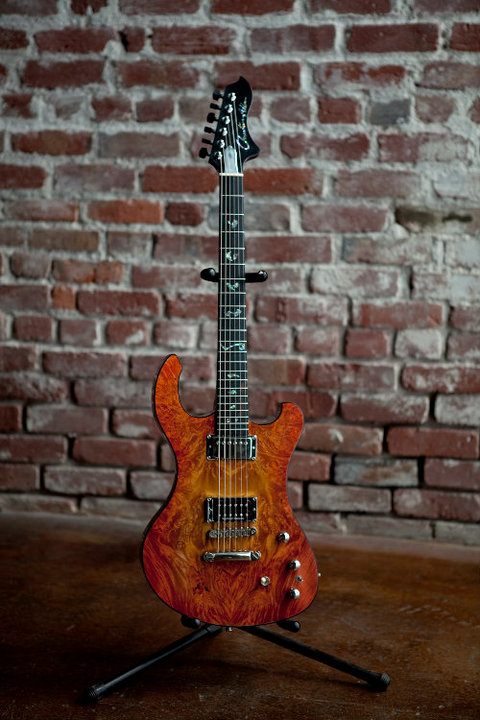
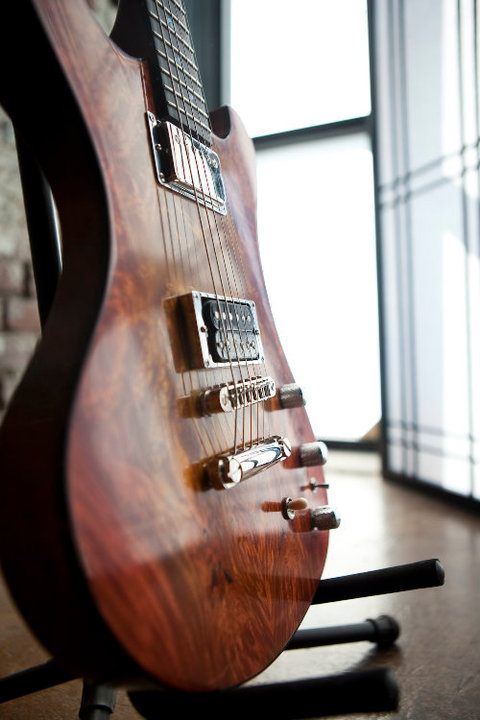
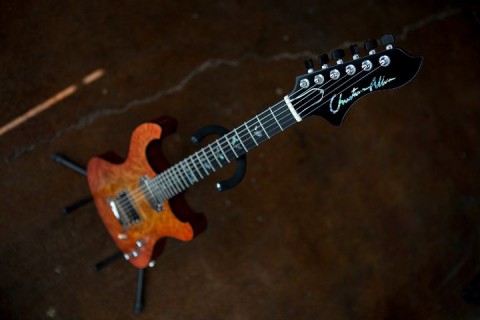
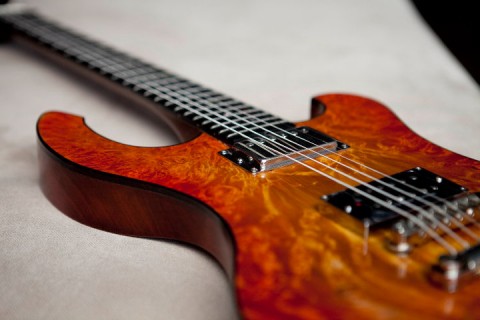
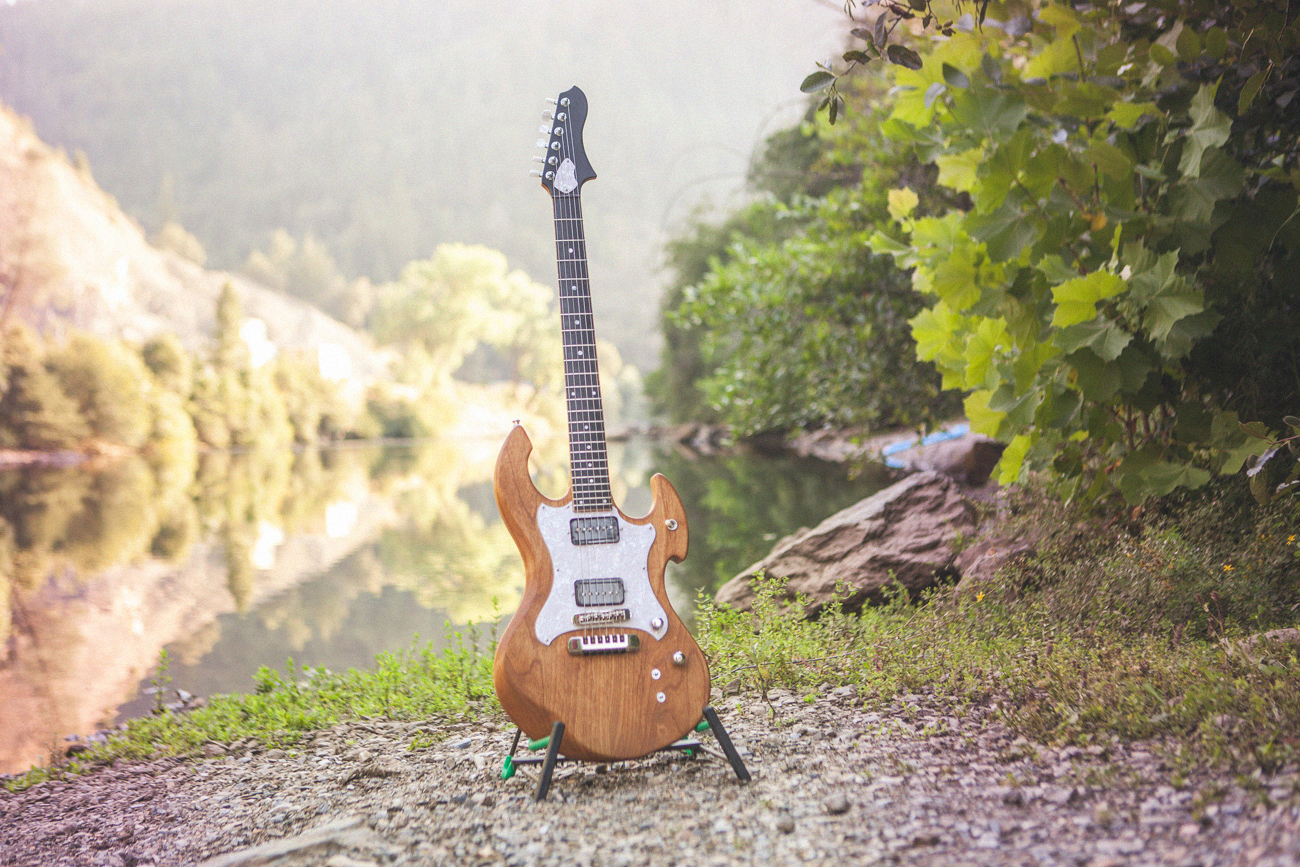
This guitar started out with a very simple thought. To make an updated version of a guitar I built back in high school. It was my senior year and it was the second guitar that I had built. It had an alder body, a pre-made maple neck with an ebony fingerboard from Stew-Mac and a slew of humbuckers. Actually, it was the first prototype that was to become my “S” model; though at the time I did not realize that was to be the case.

Fast forward 13 years later; I’m in my shop with a bunch of hardware, wood and a decision to make; what am I to build? The idea to make an updated version of that high school guitar was the easy part. I already had the alder body cut out, a nice bit of maple laying around and a Stew-Mac ebony fingerboard that had been following me around for way too long. The idea was also to keep things simple and not to do anything new. But that lasted for about 30 seconds before my brain went and said, “What if you do this? And what about that?” And so my journey from simple and, well lets face it, easy, took a turn into the relative unknown.

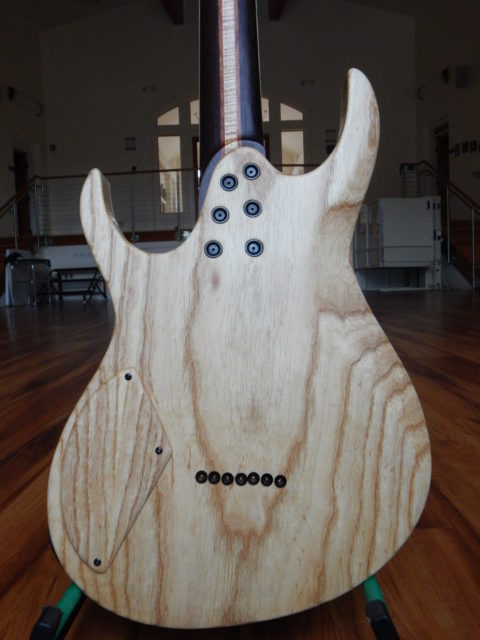
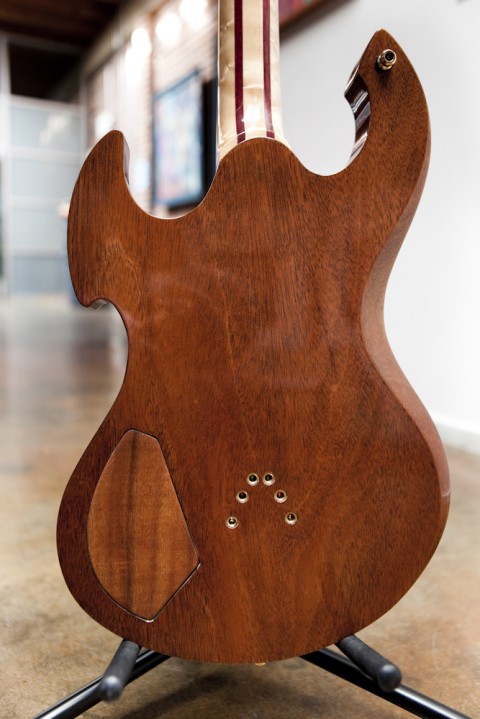
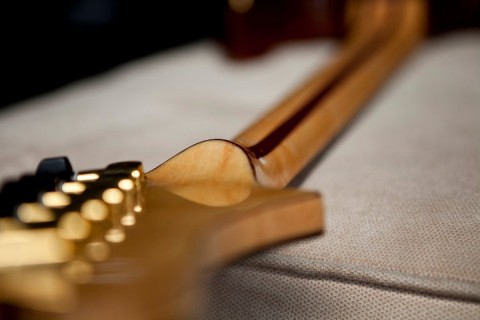
The high school version of the guitar had a bolt on neck, so that was the intent for this guitar. What my brain wanted to know is, “What if I continued my neck further into the guitar like I would with one of my glued in neck joints?”

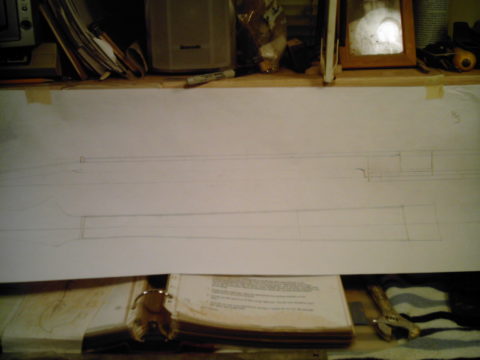
So began the journey of drawing side profile views of the neck and the neck pocket to see whether or not the neck could be extended underneath the neck pickup without getting in the way of the pickup itself. Nor, obviously, could the bolts themselves get in the way of the pickup. Another fun aspect to the equation was the fact that the guitar’s body had already been sanded down to an inch and a half which I deemed necessary at some point in the past, leaving me with not a lot of breathing room.

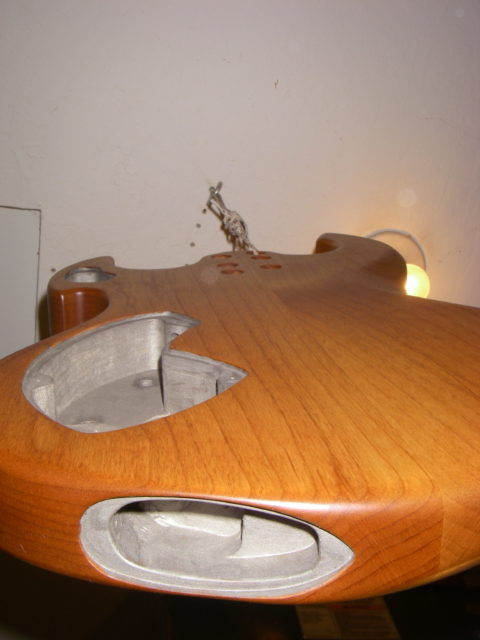
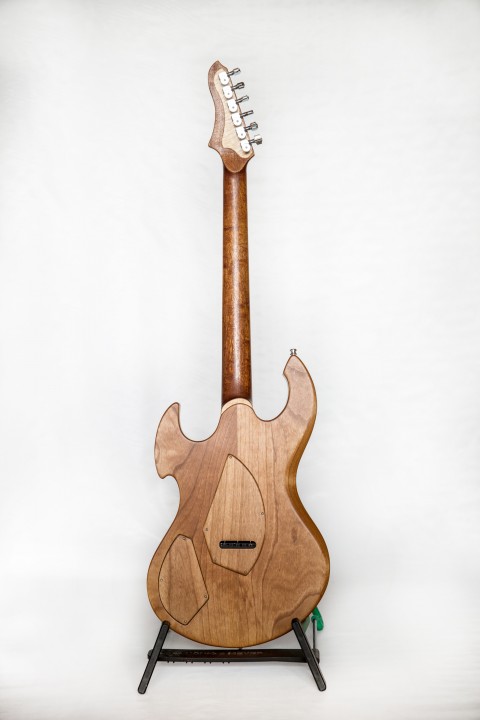
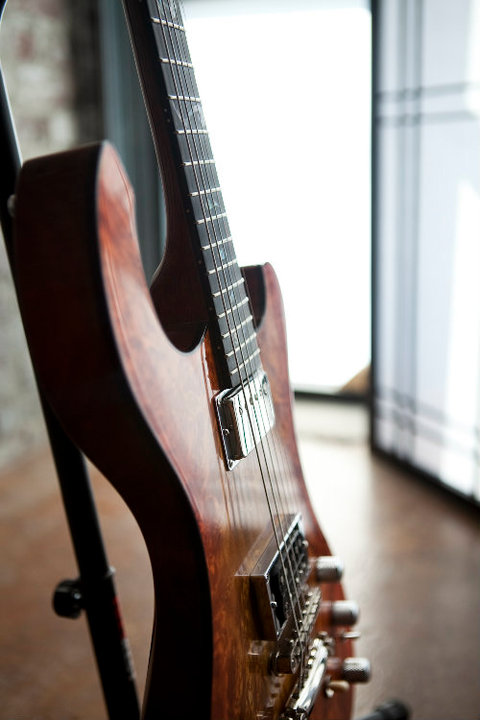
A few sharpenings of the pencil later, I had my drawing. Everything looked good. I would be able to put three bolt inserts into the extension of the neck that goes under the neck humbucker and three bolt inserts underneath the fretboard, into the main mass of the neck. As long as I ground down the three bolts that go into the neck extension, they wouldn’t get in the way of the neck pickup. I was a little worried that the short length of the bolts might pose an issue, but I had to try for the sake of, well, for the sake of finding out if it’ll work! I am glad to say it worked just fine.

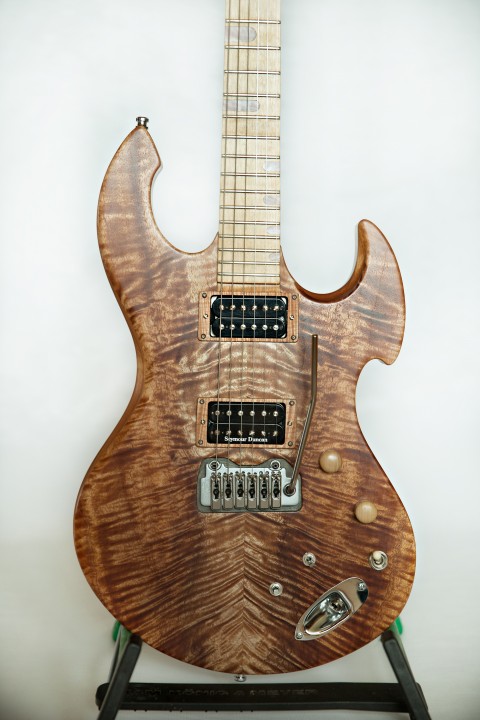
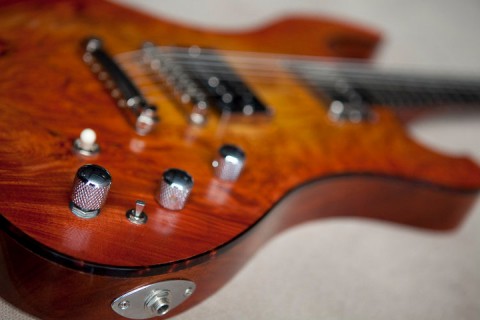
The other thing I wanted to try with this guitar was to see if I could install a Strat style input jack plate on the butt end of the guitar. Because the butt end is curved I came to the conclusion that the jack plate must be inlayed into the guitar; otherwise it would just look damn funny. A couple thoughts and jigs later I got it to fit quite nicely. I think it looks really neat but at the same time it was a lot of work for something that a standard L.P. jack plate could have taken care of. Although that wasn’t really the point.

What that did lead me to realize is that I am thoroughly tired of Strat, L.P. and “football” style jack plates and that they bore me to no end and I need to find out how to start making my own. Whether they be made of metal, wood or tofu, it really needs to happen. But that will have to wait till another post.

The other features of the guitar are as follows…

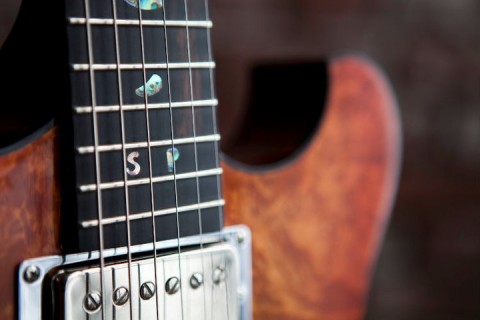
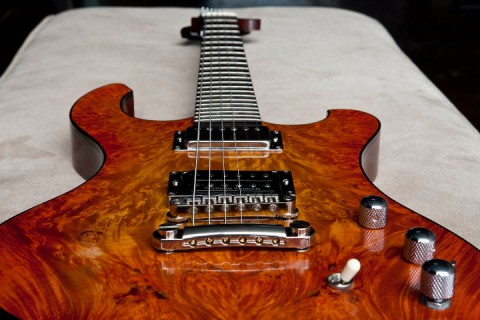
Seymour Duncan P Rails pickups

Schaller roller bridge

Schaller fine tuning tailpiece (I ended up liking this tailpiece a lot more than I thought I would. Those little fine tuners do a really good job. In case you were wondering…)

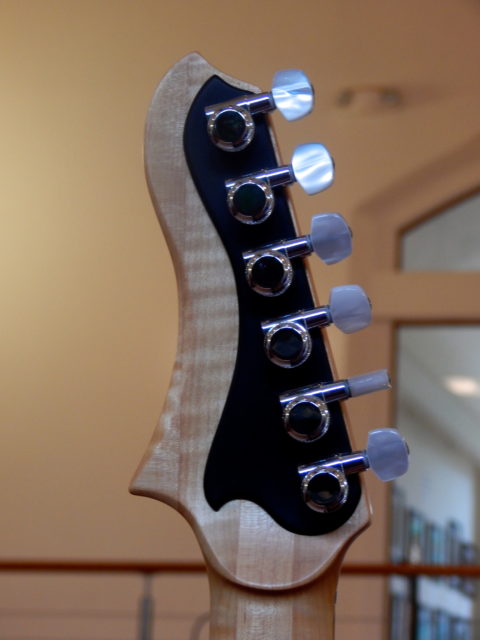
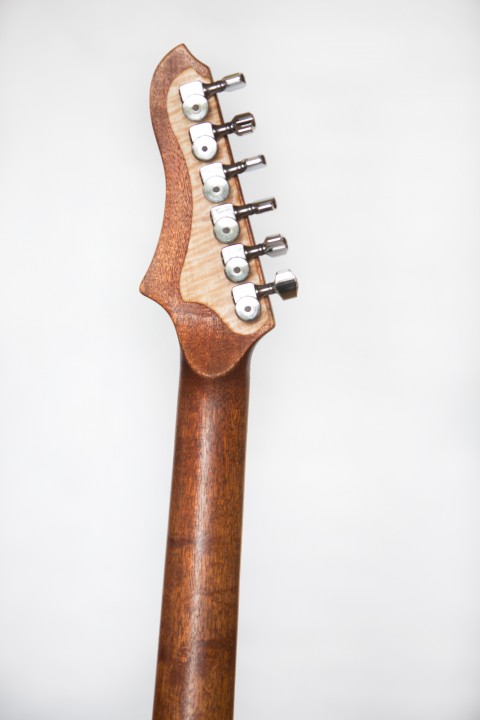
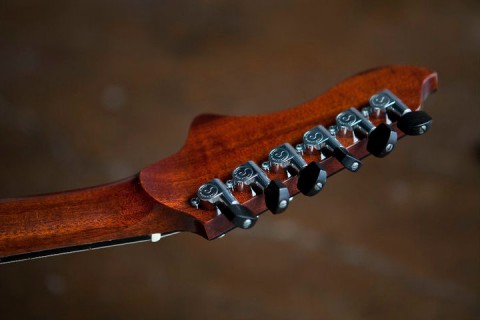
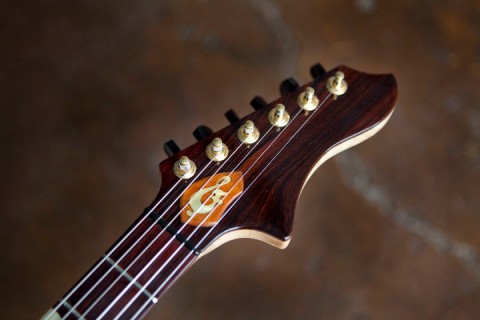
Schaller locking tuners (I made sure to get pearloid tuner buttons to mach the pearloid pickgaurd. A nice touch if I do say so myself.)

CTS master volume and tone pots

Switchcraft three way toggle switch

Two three way mini switches for humbucker / single coil / p-90

Schaller strap locks

and a tung oil finish to wrap things up.

I also had made a custom case for it by the good folks at Ibeamcases.com They do great work. The guitar fits like a glove.

After building the guitar, I had it hanging up at The Guitar Workshop in Sacramento CA where a Mr. Adam J Jennings ended up buying it. This was a very cool thing for me, mostly because it was this first guitar I ever sold to a complete stranger. A very good feeling to say the least.

Adam is a fantastic guitarist and a really great drummer to boot! He can be seen playing music all over the Golden state and beyond. As of the writing of this post, and to the best of my knowledge, Adam is playing drums for the Sacramento band Chrch, and was drumming for the Sac band Little Tents until their untimely demise…

Eyla

Leave a comment

“Eyla”, a Russian word meaning, “Eyla”.  It was a late night computer extravaganza for me.  It was probably 1 in the morning or so when Pavel messaged me all the way from Mother Russia.  “Can you build me a guitar?” was the essential question from my buddy way on the other side of the globe.  But what it all turned out to be, was a project that tested me.  A lot.

Ya see, Pavel is an electrical engineer and a really good one too.  You can check out some of his work on facebook at “Desperate Engineering”‬.  So being the meticulous engineer he is, he auto-cad-ed his guitar!  At least the front and the back of the guitar.  I get a few emails with the plans, I go to my local printer shop, and like magic, I have full scale drawings of his guitar.

I always do a full scale drawing of the guitars I build, or at least any new idea or aspect of the guitar that I haven’t done yet.  So having a to scale drawing wasn’t new to me.  But someone else’ drawing was new.  Definitely a little pressure was added throughout the whole project if for  nothing else, this guitar was being sent to Russia!  If something goes wrong, there aint anything I can do about it.  And that just isn’t a good feeling.

But enough of that.  On to the build!

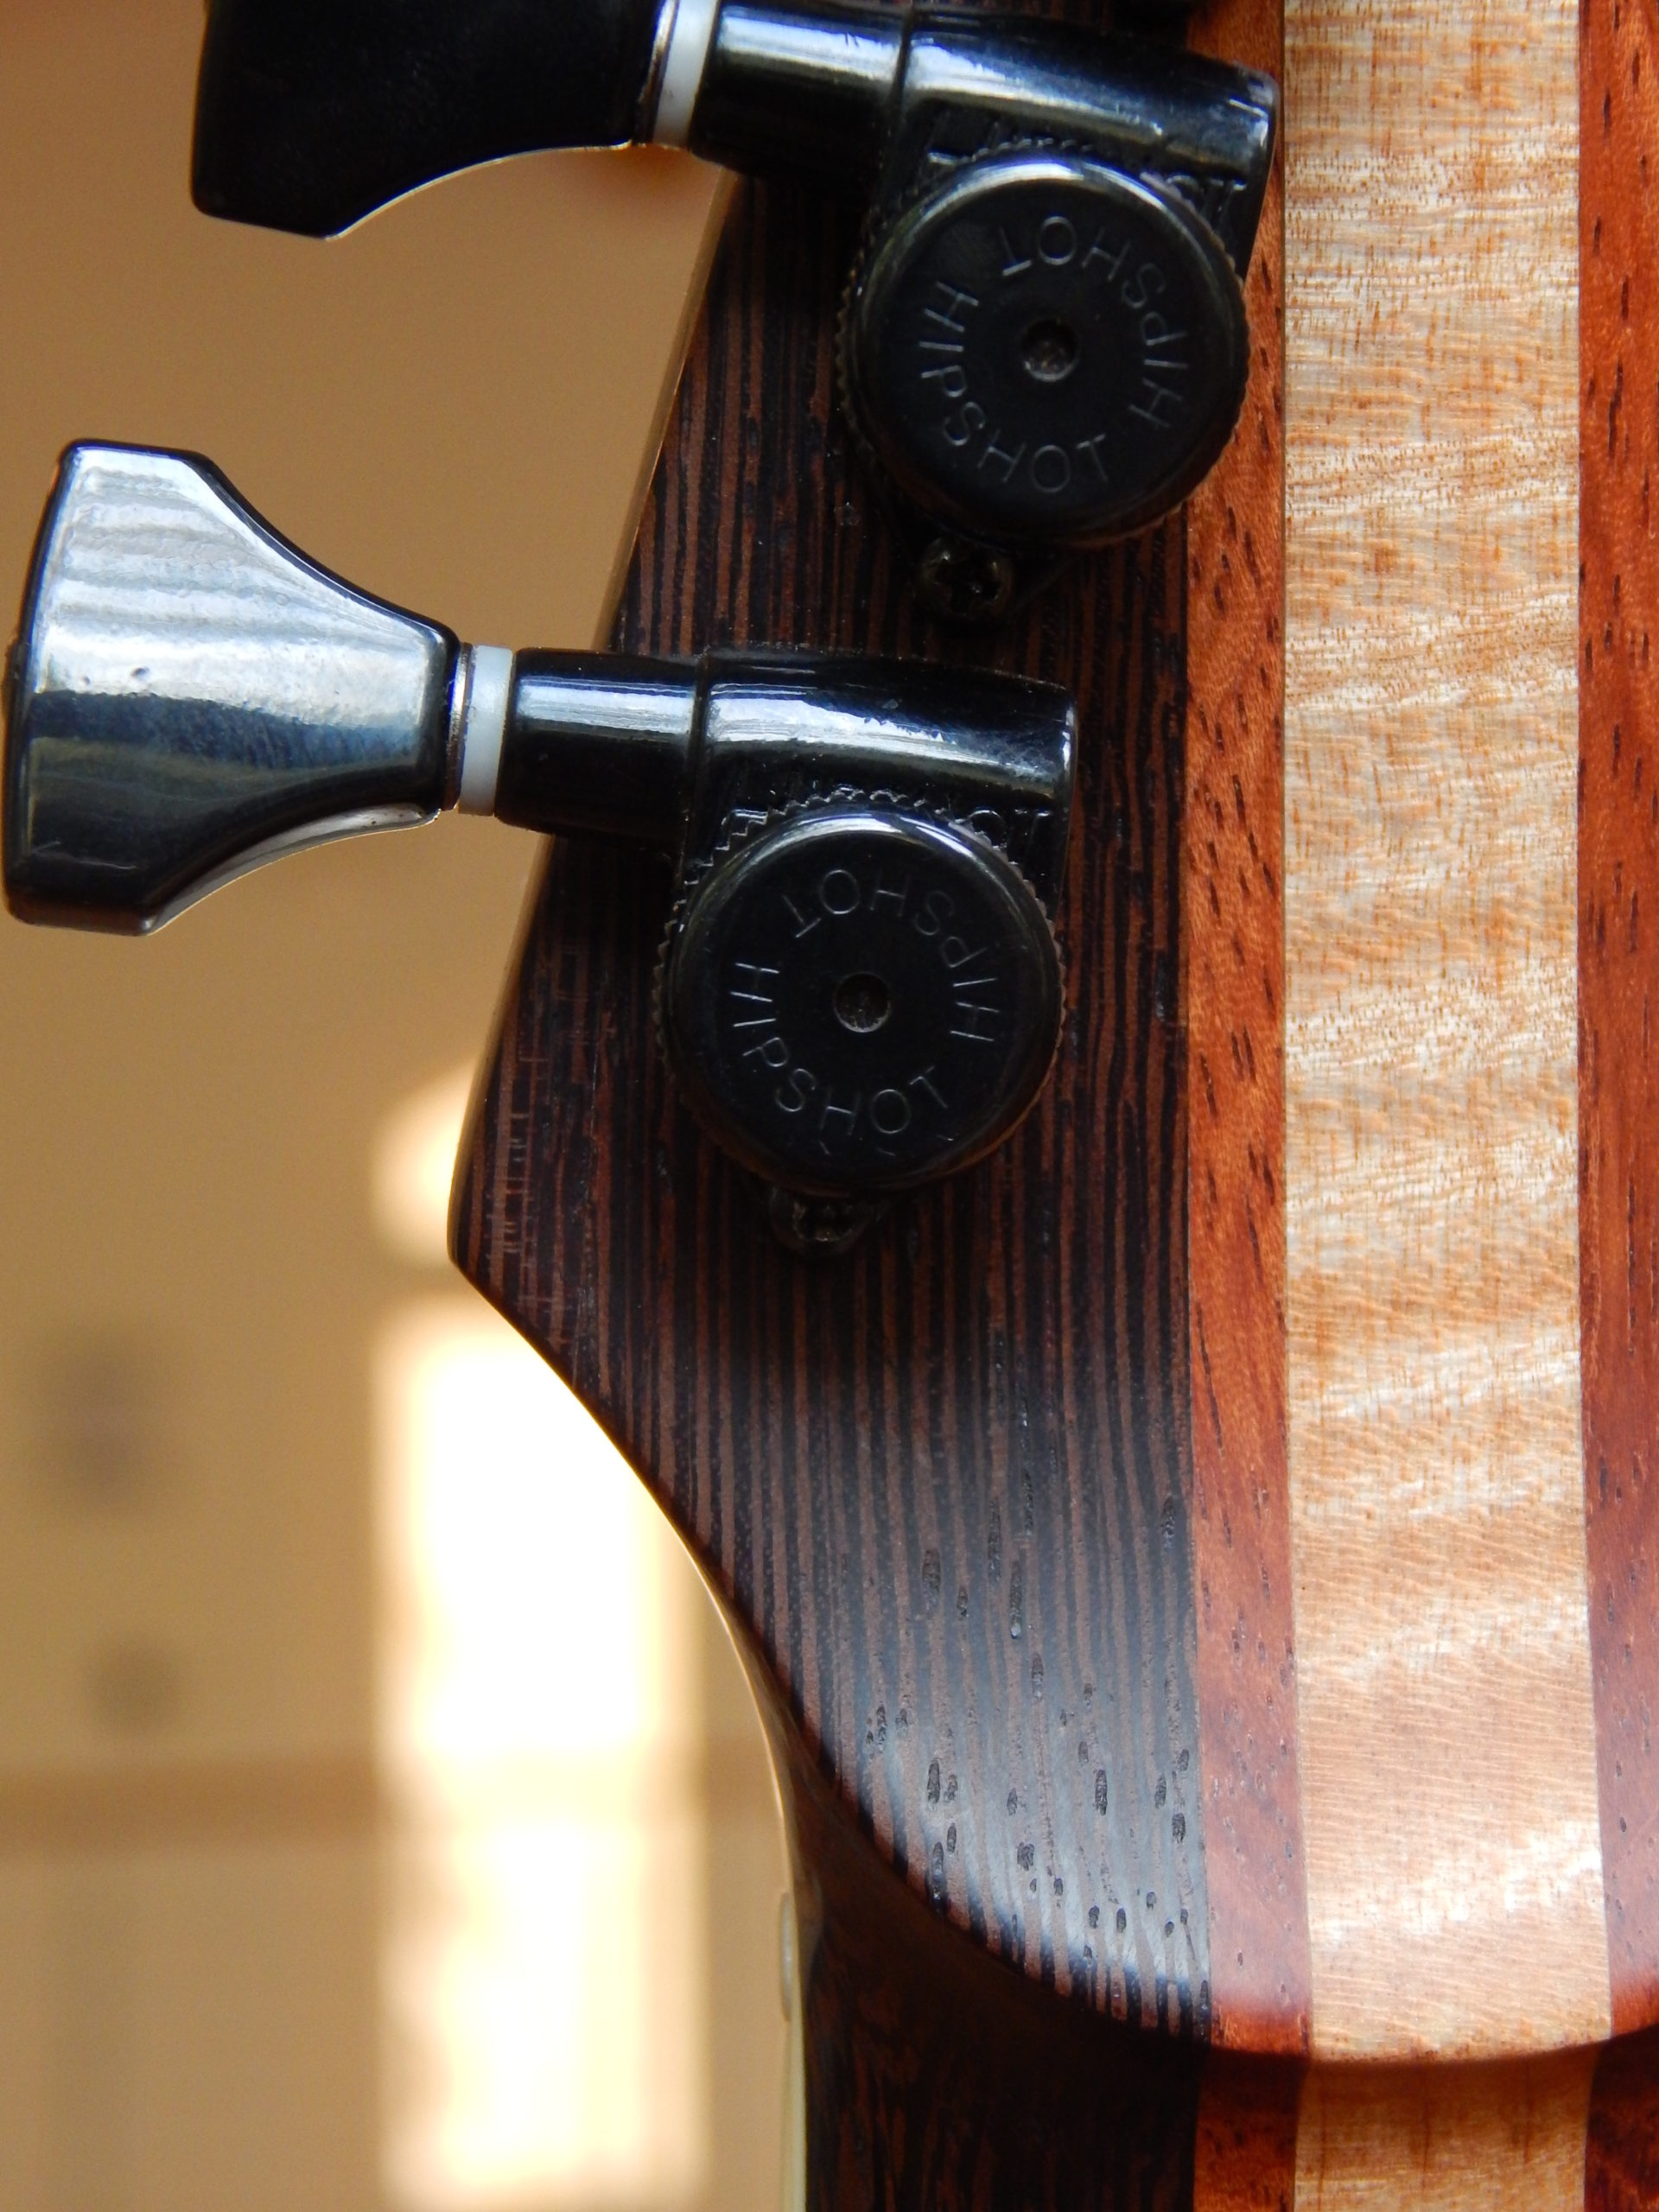
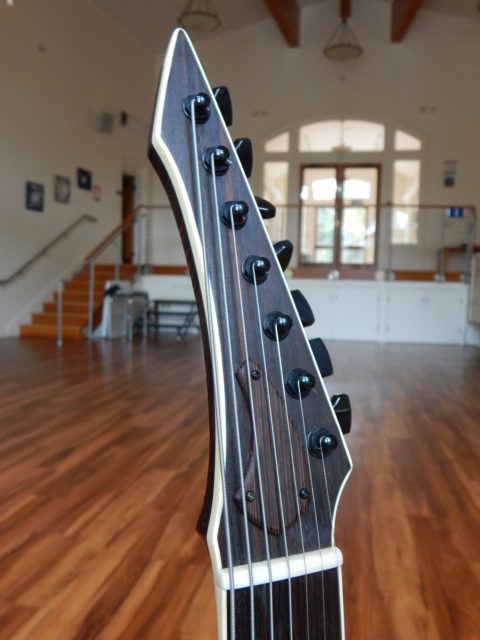
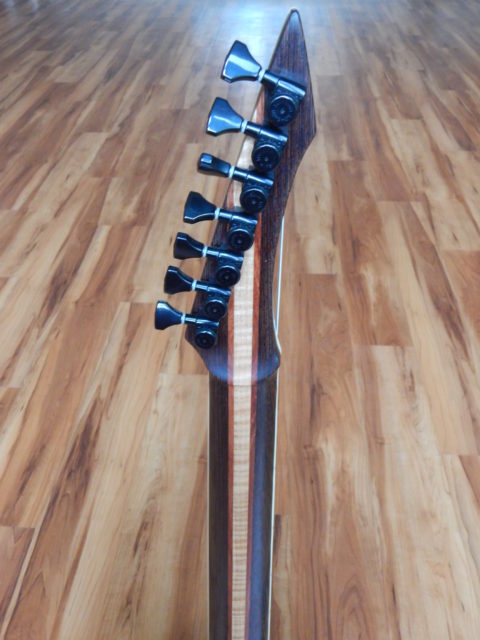
The main bulk of the guitar is simple enough.  An ash body with a beautiful koa top.  The neck is a five piece neck, wenge on the outside, bubinga is the next layer and flamed maple in the middle.  The fingerboard and headcap are macassar ebony.  The tuners are Hipshot as is the bridge.  The pickups are a DiMarzio Crunch Lab and a DiMarzio Liquid Fire.  Two volume controls and NO tone controls.  There’s a push/pull pot to coil split the pickups and a three position blade switch.  To “wrap” things up, the body, neck and headstock are done up with ivoroid binding.

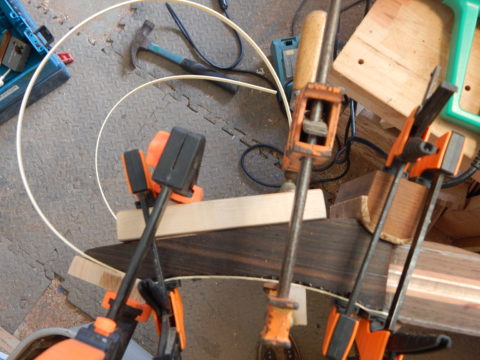
This was my first time putting binding around the headstock.  It took me a while to figure how on earth I was going to it.  If you notice the headstock design, it is quite skinny!  There is not a lot of room to  even think about putting a router on the headstock to route the channel for the binding let alone attempt doing it!  It took me going all the way to Hawaii and laying down on the beach for a few days before I was relaxed enough to have the answer reveal itself to me. (not a bad way to come up with an answer to a question if you ask me!)  I built a table top that clamped onto the then square neck.  The table top had the cutout of the headstock with just enough room for the router bit to move about.  It was a very simple contraption but it did the trick!

Oh yeah, did I mention that was also the first Seven string I had built?  Because it was.  And it was fun.

It was also my first time installing stainless steel fret wire.  I used Jescar jumbo wire.  It was fun to install except for the fact that it destroyed my fret cutters.  Jeesh….

It got the tung oil finish throughout.  The more I use that stuff, the more I like it.

And that’s basically it.  I wrapped the guitar about a hundred times with some bubble wrap and beach towels, plopped it into a box, and sent it off to Russia.  It was a fun and challenging experience, which in my book is always a good thing.

Resolectric

Leave a comment

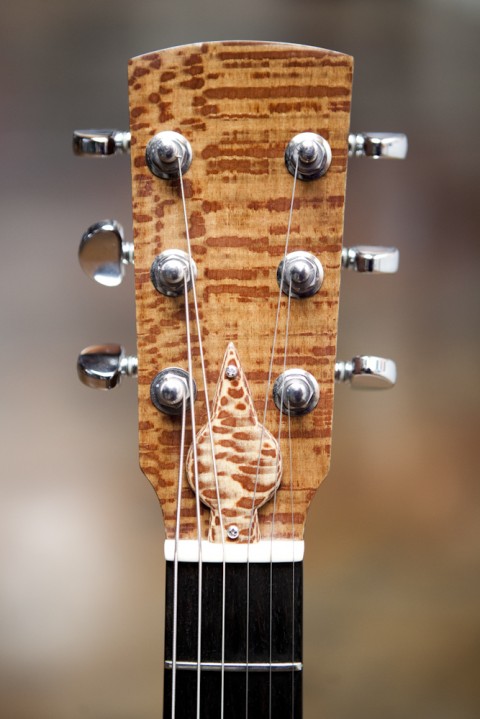
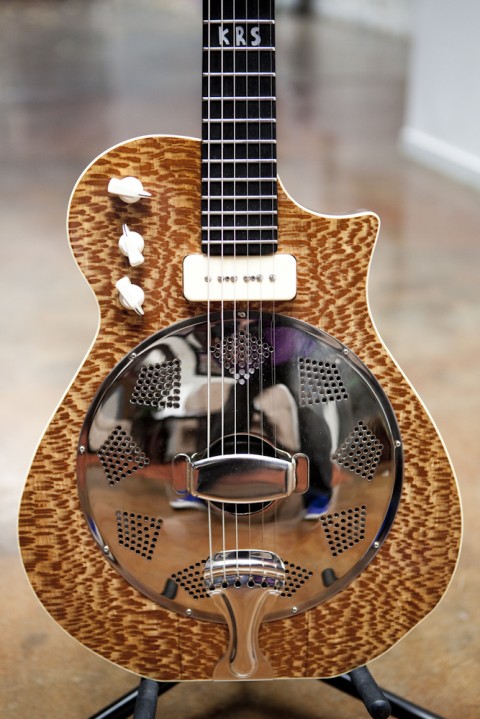
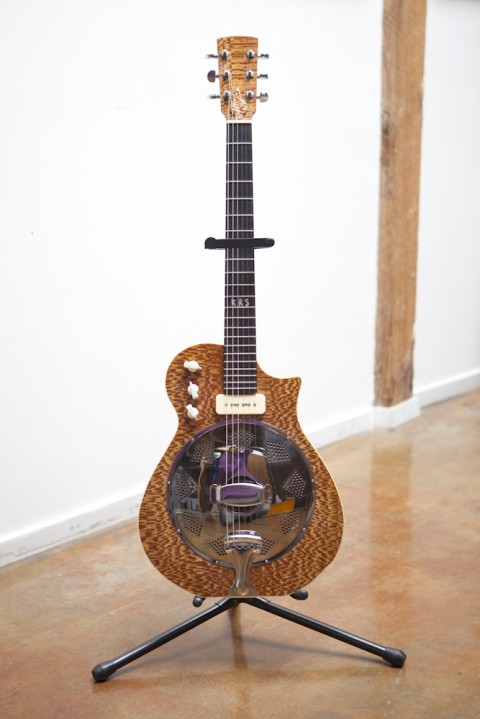
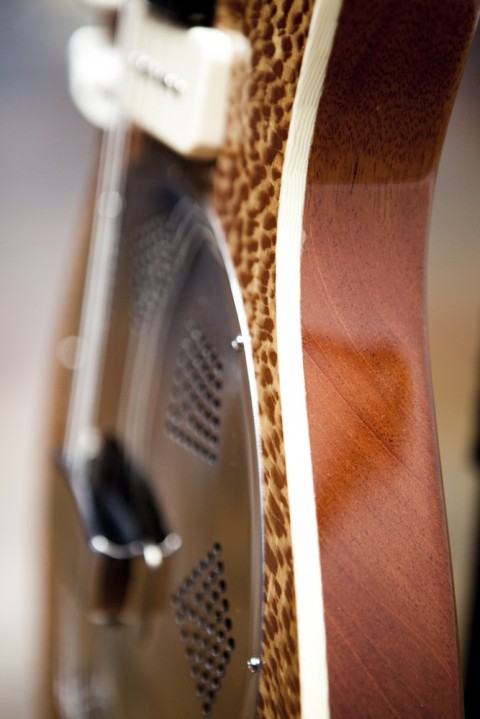
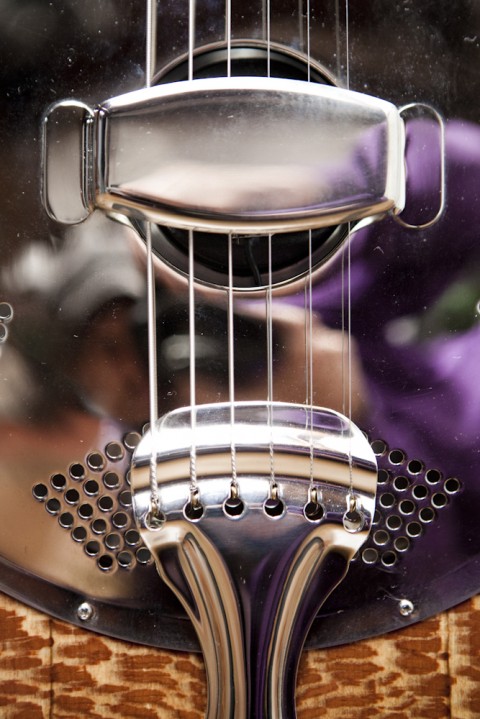
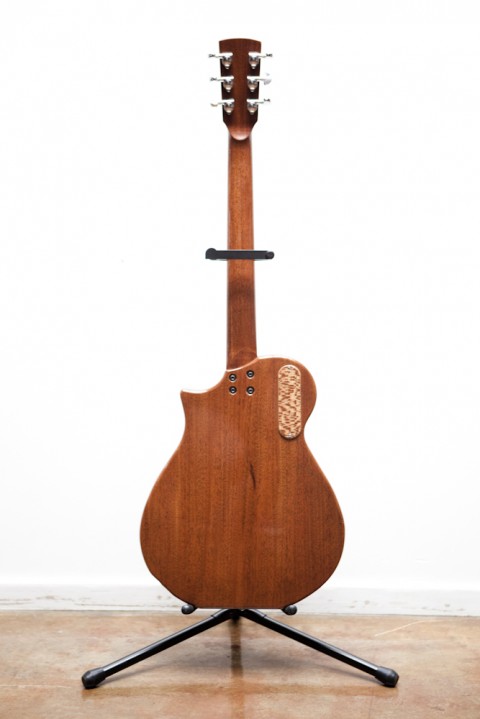
The Resonator guitar; well it’s not quite a “resonator” per se.  An electric guitar; well it’s obviously not just an electric.  Resolectric?  That’s is more like it, the best of both worlds.  A solid mahogany body with a sycamore top, ivoroid binding, mahogany neck, ebony fingerboard and a Seymour Duncan stacked P-90 pickup in the neck.  So far we have what would be any good electric guitar.

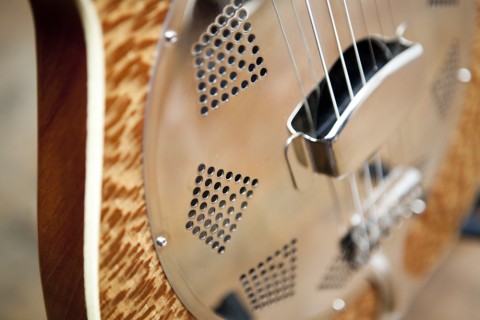
But wait, there’s more!  Say now what’s that big round metal plate on the guitar?  Well that’s a good ol biscuit bridge styled resonator.  Now sure unplugged in the guitar sounds like a resonator; surprisingly much so even though it’s a solid body.  But what happens when you plug it in?  Here you have a Stacked P-90 with a rich, warm and creamy tone, but what about this big ol resonator cone?  That’s where the K and K Pure Resonator Pickup come into play. The Pure Resonator BB is designed especially for biscuit bridge resonator guitars. It’s a screw-mounted pickup for best possible sound transmission with maximum feedback resistance.

And boy does it sound good.  But wait, that’s right, there’s more!  The resolectric also comes with the K and K PowerMix Pure Onboard Preamp, an internal preamp with amazing mixing capability.  With this nifty little devise your able to combine the tonal characteristics of the P-90 and the resonator cone for some very fun combinations of tone. The preamp features 3-band EQ plus a gain control for each individual channel.  From the preamp the signal goes to separate volume controls for the P-90 and the resonator pickup, and a tone that effects the P-90 pickup; leaving the reso pickup hot to cut through the mix with what is that classic resonator tone.  Bring in the P-90 to smooth out and thicken the overall tone; roll down the P-90 tone and get groovy with some dark bass esque tones.  Let us not forget the push/pull pot that lets us tap the stacked P-90 for a tone that’s more subtle, but very clear and focused.  This guitar is a versatile instrument.  It effortlessly moves from blues to country picken, bluegrass and then some.

Gallery

Specs

The Specs…

24 5/8 inch scale

1 11/16 inch wide nut

22 medium jumbo frets

Ebony Fretboard

12 inch Radius Fretboard

Mahogany “True Bolt On”* neck

Mahogany body

Sycamore top with matching head plate

Ivoroid binding on the body

Seymour Duncan Stacked P-90

K and K pure Resonator BB Pickup

K and K Power mix Pure Onboard Preamp

Grover Rotomatics

Beard Resonator Cone*

Beard Resonator Cover Plate

A Compensated Maple Biscuit Bridge

Lacquer finish

  • “True Bolt On” refers to the fact that the neck is actually bolted onto the body of the guitar.  Brass inserts are placed into the neck and actual bolts, not screws, keep it all in place.  This makes for a very stable and sturdy neck joint with excellent tone transfer as well.

All Photos by Wes Davis of Wes Davis Photography

Koa Top S Series

Leave a comment

Koa Top S Series

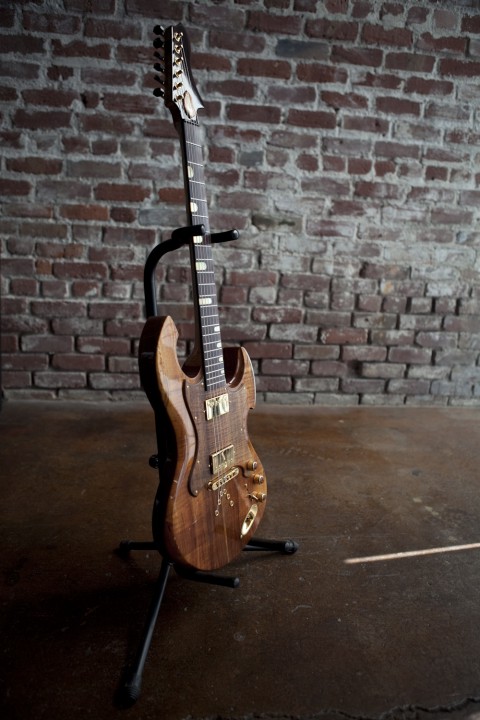
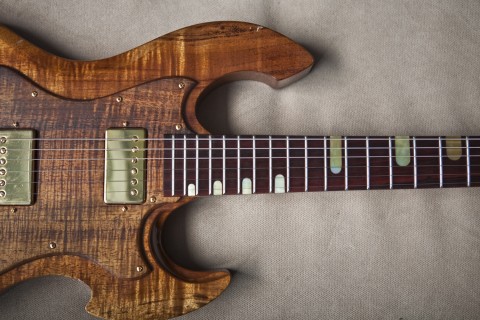
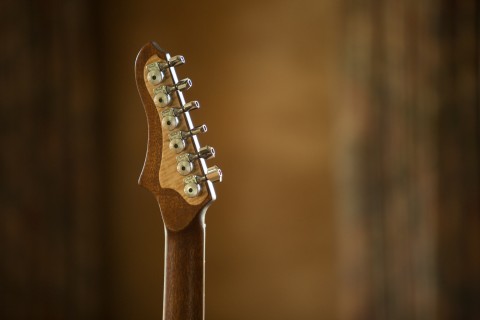
This guitar was the first guitar I built after graduating Roberto-Venn.  It is the first of 5 variations of the “S” series guitars.  It was the first guitar that I tried gluing multi laminate veneers on the back of the headstock; one purple heart, the other flame maple.  It was also the first guitar that I used the the “finger” inlays on the fretboard and a combination brass/koa pickgaurd.  Now that I think about it, there were a lot of firsts with this guitar.  I used magnets to attach the electronics cavity cover plate which is koa with a tin backing.  This guitar was also the first one where I glued together a multi laminate neck of Birds eye maple and purple heart.  The truss rod cover is made of koa and has a concept idea for a logo.  I like the way it came out,though it does need some refinements.

All in all, this was a really fun guitar to build and fun one to play.  The neck is, to put it lightly, beefy.  A definite throwback to 50’s baseball bat necks.  If I were to make another neck like this one, I would make it not quite as much of a hand full.

I think the biggest lesson I learned is how much the neck wood has an effect of the overall tone of an instrument.  In the planning process I figured the guitar would be warm and mellow being that the body is chambered mahogany and the pickups are a Seymour Duncan Seth Lover set.  But boy oh boy does this guitar pop out at you!  The tone is thick, but very bright; much more than I expected.

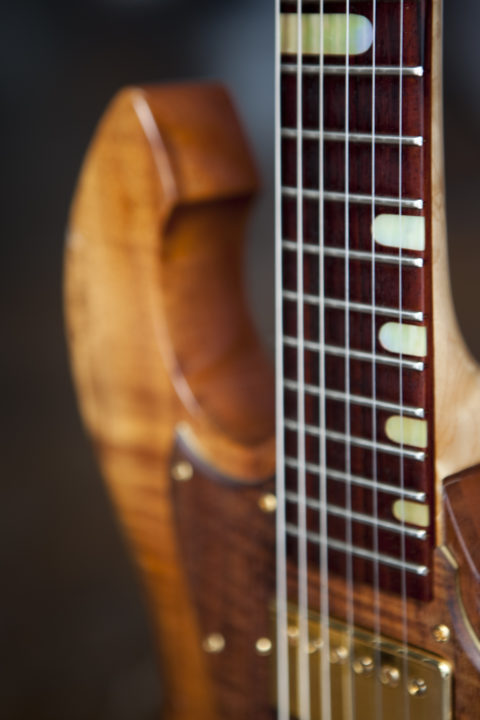
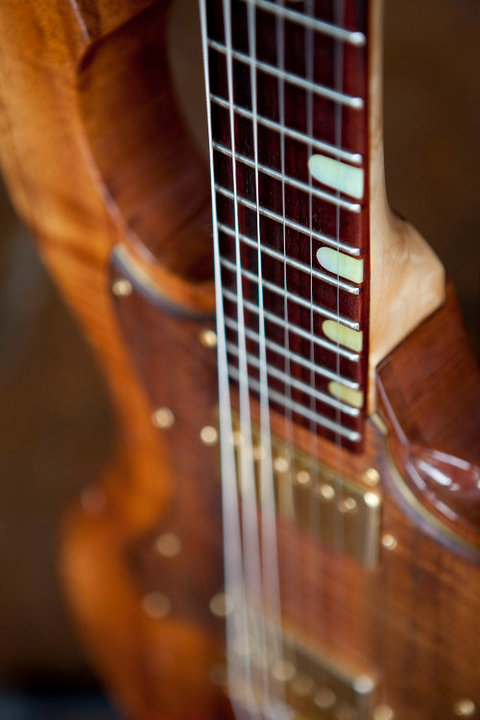
The fingerboard is cocobolo.  The more I use that wood the more I love it.  I really like the way the gold mother of pearl inlays pair up with the rich colors of the cocobolo.  I’m not a huge fan of gold hardware but on this guitar, with the koa top and the cocobolo fingerboard, gold did the trick quite nicely.

Top everything off with a nice nitro finish and ya got yourself a pretty nice guitar.

Gallery

Specs

The Nitty Grittty

Scale length: 25”
Nut width: 1 11/16”
No. of frets: 22
Fret size: Medium jumbo
Fingerboard Radius: Compound, 12” to 16”                                                                                                                              Neck joint type: Set                                                                                                                                                                            Finish: Lacquer                                                                                                                                                                                Nut: Water buffalo horn

Wood

Neck wood: Birds eye maple/purple heart 5 piece
Body wood: Chambered mahogany                                                                                                                                               Top wood: koa                                                                                                                                                                     Fingerboard wood: cocobolo                                                                                                                                                 Pickgaurd: Koa on top of brass

 Hardware

Bridge: Schaller Tune-a-matic
String attachment: String Thru Ferules
Strap attachment: Schaller strap locks
Tuners: Schaller

Electronics

Pickups: Seymour Duncan Seth Lovers
Controls: 3 way blade switch, master volume, neck tone, bridge tone

Queensland Top S Series Trem Recording and Video!

1 Comment

Hello all out there in the World Wide Web; I hope all is finding you well.  This is a real quick post.  I have a recordingto share of my latest guitar (which you can see here http://www.christianallenluthiery.com/2013/11/queensland-maple-top-s-series-trem-prototype/) and a video to go along with the music.  The video is, shall we say, mellow.  None the less I dig it.  It was done by the artist Ishvara.  It’s a bit of a soundscape type of thing, but it showcases the guitars different tones rather well if I do say so.  It’s not short, 16 minutes, so sit back, relax, throw on some headphones, grab your favorite drink of choice and enjoy.

And before I forget, all the sounds you hear are the guitar.  It’s pretty wild; what’s all used in the recording is an Exotic Effect RC Booster, a Digitech Whammy, a Boss DD-4, and a Boss DD-20 into a Mesa Boogie Studio .22.

Maybe I’ll do a more straight forward video of the guitar.  Is that something ya’ll would want?  Let me know.  Till next time, Peace in and out.

http://www.youtube.com/watch?v=ghyrQO8O1jU 

https://soundcloud.com/ishvara1008/queensland

Queensland Maple top S Series Trem Prototype.

Leave a comment

A quick note about this post.  It is rather lengthy and in a sense, a confession of sorts.  I am not a perfect builder.  I try my best of course, and I learn very much with every guitar I build.  This guitar in particular I learned a lot.  It is a prototype S Series Trem.  It turned out to be a beautiful guitar, but it took me through the ringer to get it to this point.  I want to be completely up front and honest about the guitar.  It is not perfect but it is damn close.  It is beautiful.  It plays great.  It sounds fantastic and has a wonderful range of tones.  I will have some audio of it up on the site sooner than later I hope.  At the end of my rant below I will give all the specs about this particular instrument including  price, in case you happen to be in the market.  I hope you enjoy the read.  Till next time!

Greetings to all out there in guitar land and the beyond!  I hope this day finds you well, as it finds me quite well indeed.  It has been a good long time since I last put anything on this here website.  Not because I have nothing to say, only because of not having any of that mysterious little thing us humans invented called TIME!  Not that I don’t have any free time, obviously there are moments of time in which it appears to be free; but alas, other adventures seem to fill in the cracks, and sometimes those cracks tend to widen into other adventures all their own.  “And the point of this rant?” you may ask is?  Well, I have a new guitar to show you!

This guitar has been a long time coming.  It has tested my every faculty in patience and endurance and of finding the joy in the challenges that pop up in life and turning those seemingly disastrous moments into seeds of gold and light; all of that into a single guitar.  Weird as it sounds, it is true.

I am going to do something different in this post.  I’m not going to just describe the specs of the guitar and how much it is.  There is no heart in that.  I want to tell the story of how this guitar took me through the ringer to finally become the guitar it is, and how it made me the person I am at this particular moment in time and conscious space.

Starting Christian Allen Luthiery for me, has been a very slow (for lack of a better word) growing adventure for me.  It is not the main source of my income, not by a long shot, which means sometimes my progress with any particular guitar can be unfortunately slow.  Primarily because my customer base doesn’t quite exist yet! (this is not entirely true.  There are many very good people who trust me with their guitars; just at this point, not as many to buy them…)  Everything I have built to date has been financed from my own pocket, and seeing as my day job is that of “a  grower of organic vegetables”, my income is, to put it politely,  modest.

This has been on the other hand, a year of enormous growth; in ways of expanding my customer base, as a builder, as a repairman, as a farmer, and as someone starting a relationship after spending the better part of a decade single.  I feel very fortunate to say the least.

But what does this have to do with a guitar?  Well, shall we break it down?  We shall!

The truth is I started this guitar probably four years ago.  Which is obviously way too long to start and finish a guitar.  There are some factors that help with its long gestation period; I moved from Sacramento to the Nevada City area, it took a little while to actually find and set up a shop, Iv’e moved again, I started a relationship which if done correctly takes some time and dedication, and I tend to do a lot of volunteer work on top of my regular job on the farm, which if anyone knows, isn’t a 9-5 type of ordeal.  And yes, I realize these are all just excuses but for some reason I feel inclined to share the silliness of my life with you all.

The goofy thing for me and guitars as of now, is that I have had a hard time making the same guitar twice.  When I try, it lasts for about two minutes, and then I start to think abut new ideas for a neck pocket, or designing a different cover plate or some detail that makes the guitar unique.  Something that gives it it’s own personality.  It’s king of like reinventing the wheel on a regular basis, but it is that newness that I find very joyful.

Now with this guitar there was some reinventing, but some, if not most of it was a re-engineering and a “what to do now?” type of scenario.  The first fun bit was the tremolo.  (Editors note: a “tremolo” really is vibrato, just sayin.)  When I decided on putting in the tremolo, the neck was already glued in place.  Glued in place without the proper neck angle.  The easiest thing to do, of course was to go with whatever the original plan was, whatever that was.  But for some reason I really wanted to go with this tremolo.  (This trem by the way is the Wilinson VS-100; it is a really nice trem.  It’s smooth as butter.  As of now it’s definitely my favorite trem to use.)  But with the neck angle not quite right, it meant was I had to make a template that fit around the base of the tremolo, so I could route into the top of the guitar to let the whole unit be inset into the guitar.  Iv’e done that sort of thing before; on two other guitars, I had the tune-a-matic bridge inset into the top.  It looks real neato as far as I’m concerned.

Another thing I had to figure out was the thickness of the headstock.  After sanding and shaping, and more sanding due to stripping the first finish I had applied, the thickness of the headstock had become too thin.  The tuners wouldn’t tighten down all the way.  What a bummer!  Well at first it was.  It then led to the cool flame maple design on the back of the headstock.  I didn’t want to put an overlay on the entire back of the headstock for some reason, but a a cool quasi mock up of the headstock shape done in flame maple would be really fun!  So I did, and I’m glad I did because I think it is something I will do again sooner than later in one form or another.  Another thing that happened was with the tuners.  At the time I didn’t quite understand, as it had never happened before, but the low E tuning post was just ever so slightly taller than the low E nut slot!  Holy crap!  That is all sorts of bad!  The tuners are locking tuners, so there are no wraps around the post, thus increasing the angle behind the nut slot.  When it was strung up the low E string actually floated above the nut slot; not hardly a 64th, but still, that is waaaaaaay not acceptable.  My only saving grace was the fact that the tuners have staggered posts.  The low E is supposed to be the tallest and each tuner becomes a little shorter than the last.  So I reversed the tuners!  It is kinda goofy I know, but it works.

OK.  Two more “confessions”.  This one really aint so bad.  When it comes to finish work, I have a tricky time.  Partially because I don’t have the proper setup and partially because because I have a hard time finding the joy in it, which in turn can make for a not so perfect finish.  With this guitar I started using a Tru oil finish.  I wasn’t having any luck with that so I switched to a Nitro finish.  But alas, when it came to buffing it out it had all sorts of blushing and I was still not happy.  So then it sat.  And sat. And sat some more till I decided on a Tung oil finish.  I had practiced on a test piece of wood first (which I should have done with the Tru oil) and it seemed to be nice enough so I figured, “either now or never” and I took the plunge.  And I am sure glad I did.  Yes, it does not have that brilliant shine of a lacquer or a poly finish, but it looks great.  At least I think it does as do others who have played it.  I think I will be doing a lot more with Tung oil in the not too distant future.

The last little tidbit that was a product of putting in the trem “post design stage”.  Because I routed out the area for the trem to sit into, in combination with a body that is 1 1/2 inches thick and that big ol route for the springs of the trem, meant that the last 3/16 of the posts popped into the trem spring cavity.  Luckily it was only half of either post, meaning only one face of the post is actually visible in the spring cavity.  A bummer yes, but those posts are in there tight.  Even with that snafu, all is very functional.

I realize that this post is rather long and kind of ridiculous to say the least.  But I feel it is very important to be truthful and honest about my work.  I do the best I can, and by no means am I perfect, but with each and every guitar I learn something new.  Sometimes I learn a lot!  After all, this is the first guitar I have built with a tremolo unit.  And yes, I should’ve designed  the guitar from the very beginning with the trem and make my life easier, but it was much more fun this way.  Well, I think it was….

Here is a link to another post that has some audio of the guitar .

And here is another link of the one and only Mike Georgia tearin it up on this here guitar.  And I do mean tear it up!  These are tracks to his new album “Kaleidoscope”.  If you hear electric guitar, it is this one.

The specs are as follows…

chambered alder body

queensland maple top

25 inch scale

mahogany set neck

two way adjustable truss rod

maple fingerboard with pink muscle shell inlays

medium jumbo frets

Seymour Duncan 59 in the neck

Seymour Duncan custom trembucker in the bridge

Wilkinson vs-100 tremolo

Sperzel locking tuners

graphite nut

master vol

master tone ( both vol and tone are sealed Bourns pots. Very fancy)

Switchcraft three way pickup selector toggle switch

2 mini switches, on/on/on/ for humbucker/single coil/parallel.  One for each pickup.

All is shielded with nickle shielding paint

tung oil finish

Schaller strap locks

If you have any questions feel free to drop me a line.  530.470.2318 or email at chris.salisbury@yahoo.com
Chicken Coop or Spray Booth? Part Two…

Leave a comment

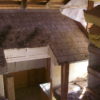
 They last time I wrote about the spray coop, or the chicken booth, which ever you approve of, I was still in the planning process.  I was figuring out what kind of lights to install, how to set up the flow of operation and all that groovy stuff.  Well, after a couple of weeks of this I realized one day, “Gee, it sure would be nice to have an actual bedroom!”  I realize how odd this may seem at first.  It’s as though I didn’t have a bedroom to speak of at all.  I did of course have a bedroom to sleep in and some space to place a few of my possessions.  But it was really just a mattress in one corner and a bunch of tools everywhere else.

You see, I have my shop that contains all the big heavy duty machinery like my bandsaw, my edge sander, jointer and the like; but that space doesn’t have enough room for my repair workbench and all the tools I use when repairing and maintaining guitars.  All that stuff was in my room.

And then it finally dawned on me, “An actual bedroom…..”  It is at this point I decided to scrap the idea of converting the chicken coop into a spray booth and instead convert it to the other half of my shop.  The very convenient thing with this idea was now my tools wouldn’t be split between two places, 5 minutes apart.  Now they are split between two places, a 30 second walk apart; which at first was awesome!  Everything was right there, but now, all of my tools are a 30 second walk apart… While yes, it is better than having to get in my car and drive to get the tool I needed, it is still equally annoying having them all split up like that.  Until the day I get a bigger shop that can hold everything (what a concept!) it will work just fine.

It was also much easier to set up the chicken coop as shop space than booth space.  All I had to do was run in some power from the tractor barn next door, yes I said tractor barn, by some $20 florescent lights from Home Depot and use lots of Kills paint.  Lots and lots of Kills.  That coop was nasty smellin.  It’s been over a year since I’ve been using the coop as shop space and on a hot day it still smells a bit funky; not as bad as it used to but the smell is there.  Flies too, lots of flies on hot days.  Though to be honest, I don’t know if the flies are there because it was a chicken coop or because there are 10 cows out in a field right next to the shop.  My guess it’s a little bit of column A, a little bit of column B.

And while all this is great it still leaves me without a spray booth!  Ah oh well, all in due time.  For the time being I don’t mind.  It’s given me the chance to try out different ways of finishing.  Currently my finish of choice is a Tung oil finish.  That stuff is great.  It’s easy to work with and looks great.  Perhaps I’ll do a post on that.  That sounds good, I think I will….

Till next time everyone.  Be safe and all that jazz….


My first acoustic plays at the Ford Theater!

1 Comment

Back in June the first acoustic I had the pleasure to build performed at the Ford Theater in Los Angeles, in the very worthy hands of singer/guitarist/violinist extraordinaire Fabio Nani in the Los Angeles based quartet The Joy Singers.  The performance took place during a talk given by NayaSwami Kriyananda, a direct disciple of the spiritual powerhouse Paramhansa Yogananda.

Here is a picture of The Joy Singers along with some of their friends performing.

I couldn’t find a link that led to this particular performance but I did find a link that goes to The Joy Singers performing before a “Question and Answer” gathering with NayaSwami Kriyananda at the Biltmore Hotel in L.A..  It’s all audio and starts off with The Joy Singers performing a piece entitled “Why?”

http://www.ananda.org/mp3/2012-06-26biltmore_qa_swami.mp3

Till next time, keep the tunes playin…

Christian


Chicken coop, or spray booth?

2 Comments

lac·quer   [lak-er]

noun

a protective coating consisting of a resin, cellulose ester, or both, dissolved in a volatile solvent, sometimes with pigment added.


cel·lu·lose   [sel-yuh-lohs]

noun

an inert carbohydrate, (C 6 H 10 O 5 ) n ,  the chief constituent of the cell walls of plants and of wood, cotton, hemp, paper, etc.


ni·tro   [nahy-troh]

adjective

Chemistry . containing the nitro group.  A combining form used in the names of chemical compounds in which the nitro group is present: nitroglycerin.


Ahh, that which makes up the illustrious shine and protection of the majority of your beautiful, hand crafted guitars.  Now, of course, not all finely handcrafted instruments happen to use  The classical guitar world loves their French polish and most of your big-box makers (names will be omitted) use some sort of poly finish; which isn’t necessarily a bad thing by any means.  In fact poly finishes, when done right, provide fantastic protection and beauty.

But we are here today not to speak of poly.  We are here to speak of the infamous and classic, Nitro Cellulose Lacquer.  Well, kind of.  More like figuring out to go about applying the finish in as a professional way as one can do with a small budget, and a….. chicken coop?

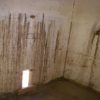
Say what?  That’s right.  This blog is the first installment of a spiritual and life changing transformation.  Converting a smelly (really, really horrible smelling, armpits of satan smellin) chicken coop, into a useable and functional spray booth.

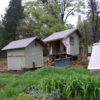
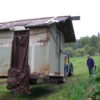
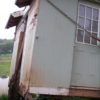
Where I live, there are a series of different farms; vegetable, goat, dairy and at one time, chicken.  The owner of the chicken coop felt a calling to move up north and so he did.  Though with this move, the chickens did not agree and stayed behind; leaving two coops behind and a couple of less than enthusiastic stewards of the coops.  Long story short, someone built a mobile chicken trailer to be moved around their pastors and the veggie farm was left with two funky chicken coops.  So what did we do?  We cut them in half!

You see, the coops were two separately built buildings connected by a big single roof.  If you have never scaled across a roof with a sawsall, cutting through shingles, tar paper, plywood, nails and in-between two 2×6’s, well my friend, consider yourself lucky!   All kidding aside it was a labor of love.

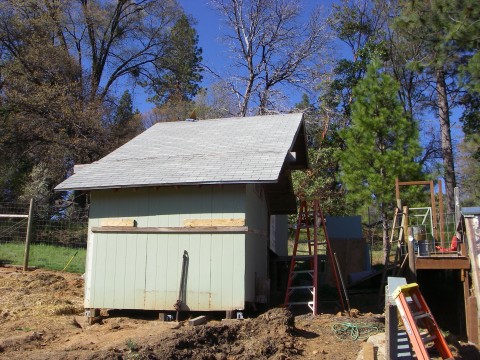
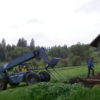
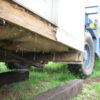
Once the two buildings became separate pieces, the big machinery came into play.  Enter the gradall.  With the master operating skills of Tom, and the expert hauling skills of Prakash, Ananta, Wyatt and Cullen, we had the coop moved and into its new home placed upon railroad ties.  The wonderful thing about its new home is that it’s only a 30 second walk from my shop; which is as convenient as it gets for not having a spray booth inside my shop.

At this point I have not yet done much more to the refabricating of the coop/booth.  Here are a few things that will most certainly need to be done to make it an operational booth.  First off, there is a big gaping hole where my booth was connected to the other half of the chicken coop.  Obviously this must go, but, instead of filling in the wall with more wall, I plan to install windows.  I think in addition to artificial light some natural light will be nice.  It won’t let in too much light because there is another shed a few feet away but I do think it will be a nice touch nonetheless.

Did you know explosion proof lighting is rather expensive?  I had a tricky time finding any sort of lighting that won’t explode the coop/booth into pieces for under $500; until I stumbled upon zorotools.com where I found a spray booth lighting fixture for under $300.  That’s neato.  I still haven’t purchased one yet so I don’t know how well it works and if the lighting is adequate, but I sure hope it is!
Along with the big ol hole in the wall there are a bunch of randomly sized holes throughout the coop/booth that will need to be filled in and covered up.  3X expanding foam, here I come…  There are also a couple of funky sliding windows at the apex of either end of the coop/booth.  An exhaust fan will be put into the window above the front door to keep some airflow moving through to keep cool and an actual spray booth filter will go at the other end.

I received from my uncle (the same uncle who gave me one of my work benches) a big ol 45 or 50 gallon air compressor.  I’ll build a box to store it outside of the coop/booth to keep it out of the elements (and so the noise doesn’t drive me mad!) and hook up a water and oil filter between the compressor and the spray gun to keep those elements from working their way into the finish.
As the booth is now, there is an old cabinet and an upper cabinet in one of the corners.  This will go bye-bye very soon for a couple of reasons; first, it is covered in chicken shit.  Mmmm, very yummy.  And secondly there isn’t an extraordinary amount of room in the coop/booth for hanging guitars.  One of my dilemmas is that the coop/booth is one room; one room for spraying and for hanging guitars.  Which means what my dear ones?  Overspray.  I’ll need to section off the room with either a wall or a tarp to keep lacquer from getting on any other guitar hang around, which means even less room for guitars to hang around.  So I’ll get rid of the shit covered cabinets and build shelving that goes around the perimeter of the room that are two feet tall or so.  It may be some excessive bending up and down, but I’m young and still have a good back and it will give me some much needed storage space that will also be out of the way of freshly lacquered instruments.

This is the plan thus far.  Only time will tell how it all turns out.  I’ll be sure to keep yall posted.

Till next time, keep on pickin….


Sam Phelps Guitar

Leave a comment

This Guitar is in the hands of a dear friend of mine, Sam Phelps.  Sam is a musician extraordinaire, producer, performer and touring artist playing with such acts as Izabella, 4 Guys from Reno, Brian Rogers and many others.

The guitar is my “student electric” guitar I built while attending R-V and it features…

Two piece Mahogany body

Two piece, glued in, Mahogany neck with an Ebony fingerboard and headcap

24 5/8 inch scale

Jumbo frets, I think.  It’s been a while since I saw it last.

Book matched burled Maple top

“Tortise” Binding

Belly carve

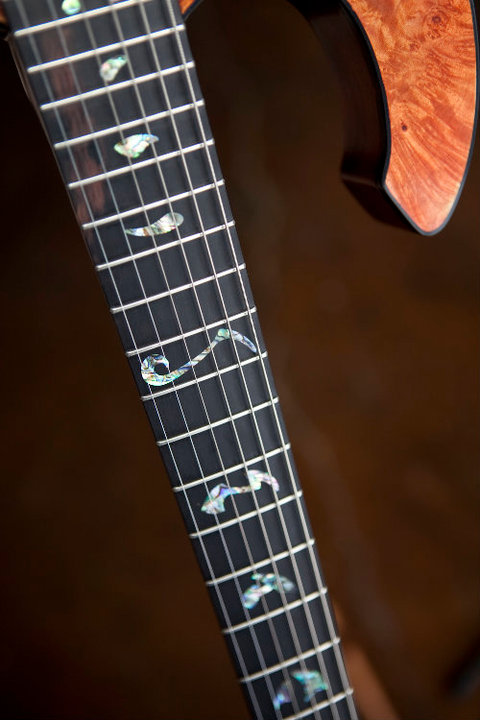
Weird morphing inlays and the “Christian Allen” signature inlay on the headcap all done in  Abalone.

A Seymour Duncan 59 in the neck and a Custom Custom in the bridge

Master volume and a  tone for each pickup and a push/pull on the bridge tone to tap the pickup to become a single coil.

Mini cut-off switch

Three way selector switch

Schaller tune-a-matic bridge and tail piece and Schaller M-6 tuners with Ebony buttons

I would like to explore this shape more so in the future.  I Like how it looks now, but I think this was just step one.  I would like to smooth out some of the lines and refine the inlays.  I like the concept of the morphing inlays; each shape in motion to the next; but again, the lines can be refined.  Carve tops are something that I definitely want to explore, perhaps this will be the guitar to explore with?..

Thanks for checking things out, till next time…..